5 Quick Photoshop Fixes for Bad Portrait Photos
Our visual presentation is of the utmost importance. First impressions are everything, so it is super-important to look our best in every possible situation. We can’t afford to have a bad portrait photos or bio pic online.
On the other hand, it will never be practical to spend hours retouching every image.
That’s why it is important to know a few quick-fire retouching tricks that can make a big impact without a lot of effort.
So, here’s the untouched photo we’re going to start with.
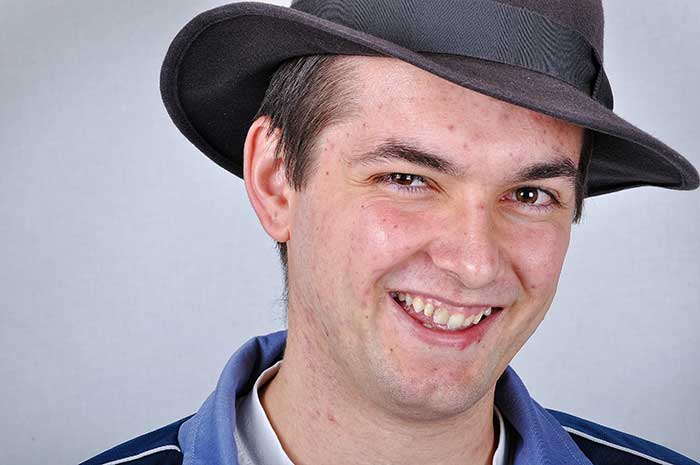
Use The Patch Tool & Healing Brush to Remove Blemishes
The first thing that you want to do is remove any spots and temporary skin blemishes you might see. While in life these are only temporary, your bio pic could be on a site for years, so it’s important to take care of problem areas up front.
Use the Spot Healing Brush to take care of these areas.
There are 3 settings with the Spot Healing Brush that you’ll want to pay attention to. The first is Proximity Match, which takes the nearest pixel information and tries to replace what you brush over with a blend of the surround pixel information.
The second is Create Texture, which can be helpful if your subject has especially porous skin. However, with this portrait, it isn’t the case.
The third option is Content Aware, which would be great if the rest of your photo is uniform, but there are a lot of tight spaces and variations with this image, so the best choice would be Proximity Match.
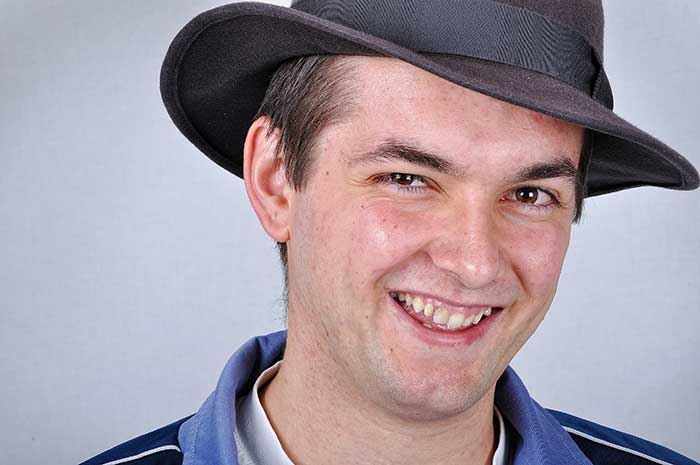
Simply make your way around the subject’s face, clicking on each blemish to blend it away. I removed most of the larger, more prominent blemishes from his face.
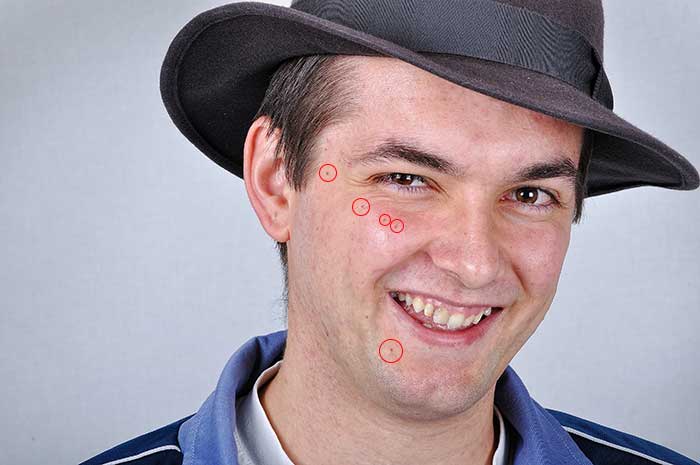
However, I left the smaller, patchier areas. Also, if you look at the example, I highlighted the distinct moles on his face. You will want to leave all natural, more permanent facial features behind. This includes things like like scars and freckles. They will stay, but we will fade those back a little later.
Smooth Skin
Next, you should smooth the skin. In the past photographers have obtained softer skin renderings using in-camera effects such as applying vaseline or gauze stocking across the lens. We will mimic this effect using Photoshop.
It is important to understand that you should blend the skin enough to smooth it, but not too much so as to lose all skin texture. Surface Blur is a great way to handle this. Hit Command/Ctrl + J to duplicate the layer, and mask out everything except the face.
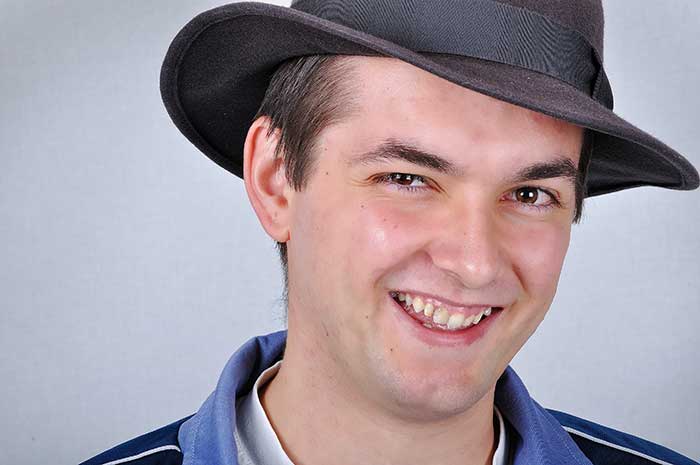
The next step is optional, but if you want to do this the smart way, you can avoid headaches in the future. Right click on the layer and select Convert To Smart Object.
Next, go to Filter> Blur> Surface Blur. Set the radius to 5px and the Threshold to 15 levels. Lower the opacity of the layer to 65%. This is enough to smooth the skin, while leaving enough detail so that the skin looks natural. Too much smoothing and the skin will look plastic.
The reason that we made the layer a smart object before running the blur filter is so that the filter would be editable. We can always go back and make adjustments, saving us time in the long run.
I always do this whenever possible, because it saves me from having to go back and repeat steps. I’d much rather double-click a layer and make minor adjustments than to repeat 10-20 steps over again. In the long run, the extra precaution is much quicker.
Whiten Teeth Using Dodge
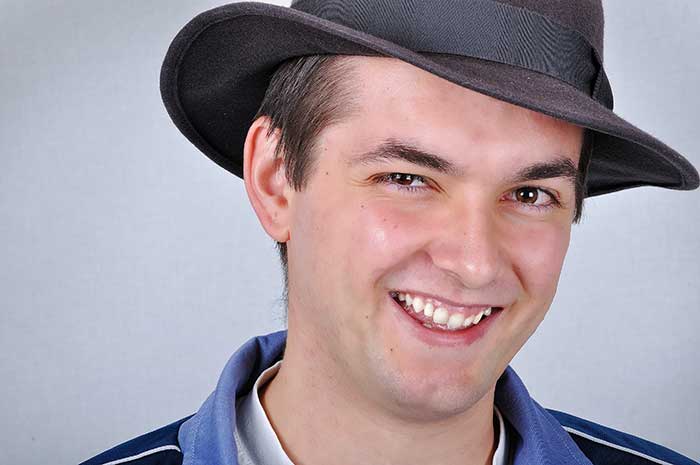
When teeth are dull or less brilliant than desired, you can fix this quickly in Photoshop with a simple technique. Merge the layers from before, or create a new layer comp by holding Alt/Option + Command/Ctrl + Shift + E.
Then, select the Dodge Tool and set the range to midtones, and the exposure to a higher setting, such as 70-80%. Use a soft edge brush with the hardness at a low setting and click in the places where you want the teeth whitened.
The brush will be soft enough that it will blend in, but will be strong enough to where you won’t have to layer the effect much.
Reduce Wrinkles and Crows Feet (subtly)
I think it’s best to treat wrinkles and crow’s feet a little differently to temporary blemishes. In theory, you could use the Spot Healing Brush to completely blend away these blemishes and artifacts from an image, and the result would likely look perfectly professional.
However, in my opinion it’s never wise to delete all moles and wrinkles in a person’s portrait. This is because these elements are part of the character of their face. People will start to take on a lifeless ‘wax model’ look if you go too far.
As we age, the surface of our skin begins to accumulate more imperfections. The main reason that candlelight is considered romantic is because this gentler light simply reduces the shadow sharpness and contrast in these imperfections — without actually removing them.
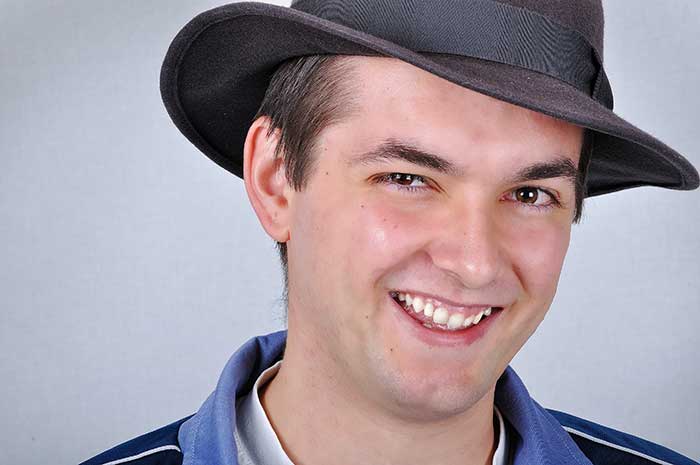
The technique that works the best is to create a layer comp of your current result, and then duplicate it using Command/Ctrl + J. Select the Healing Brush and set the result to sampled and keep the Mode as normal.
Hold down Alt/Option and click on an area that is similar to the problem area. Then, paint over the large wrinkles or crow’s feet with your brush. They will nearly disappear.
Repeat this process until all wrinkles are gone. Then, simply lower the opacity of the layer itself to around 70%. This will allow some of the wrinkles to peek through, while reducing their impact enough to take years off of anyone’s life.
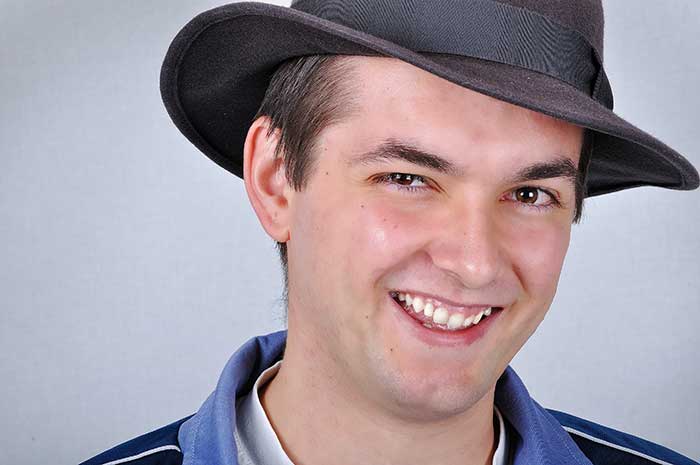
Brightening Eyes
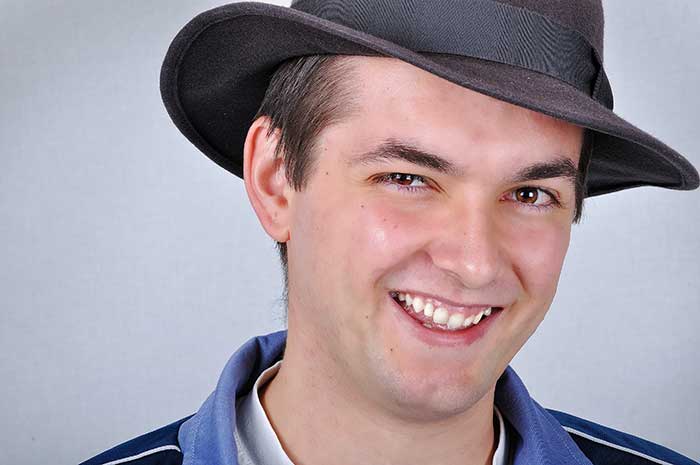
Dull eyes can kill a good photo. Just because the eyes appear to be lifeless in a photo doesn’t mean they have to stay that way. Using the Sponge Tool, you can bring dull, dark eyes to life in no time. Create a new Layer Comp and in the layer comp, Select the Sponge Tool. Set the Mode to Saturate, and the flow to at least 50%. Single click over the pupils of the eyes to brighten the eyes and give them more vibrance.
If you need to make them even brighter, you can use the Dodge Tool and brighten them with that method, too. You can combine this with the Sponge Tool method for fantastic results.
Conclusion
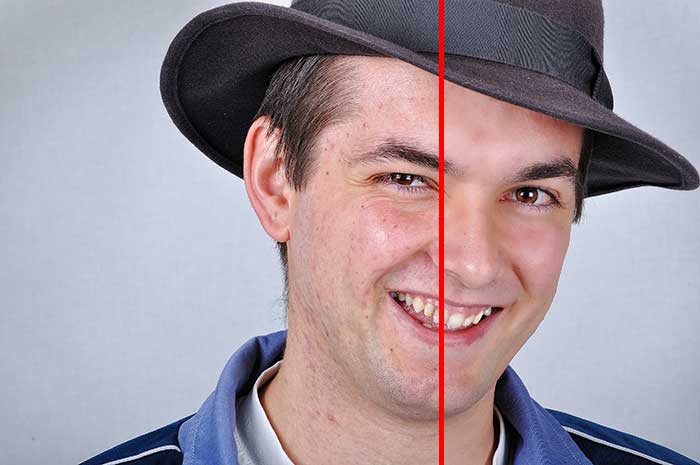
In less than 5 minutes, we’ve made a drastic improvement to this portrait. We smoothed skin, removed blemishes, brightened eyes, reduced wrinkles and whitened teeth, all using simple techniques. You can see the difference in the result above. The left is before and the right side is after.
In most cases you won’t need all of these techniques on the same photo, but some combination of them should cover almost any situation.
