Ethereum: Introducing Mist, a Human-friendly Geth Interface

This article explains how to install and work with Geth and Mist, which allow you to mine or develop Ethereum software, and to control your own node and your own wallet’s key, thereby signing your own transactions instead of relying on third-party software.
In order to communicate with the Ethereum blockchain, we must use a blockchain client. The client is responsible for broadcasting transactions, mining, signing messages and communicating with smart contracts.
Currently, the most popular clients for Ethereum are Geth and Parity. They both come as command line tools with terminal consoles for blockchain operations.
Since most people aren’t comfortable using command line tools, client extensions like Mist were created. They “wrap” the functionality of the client in a user-friendly interface — enabling people not proficient in command line usage to participate in the network.
What is Mist?
Mist is a program which connects to Geth in the background, and also serves as an interface for the wallet.
When Geth is running, it synchronizes with the public blockchain by downloading all its data. Mist is just a human-friendly interface for talking to Geth. In other words, Geth is both your node and your wallet, but instead of talking to it through obscure commands (such as web3.fromWei(eth.getBalance(eth.coinbase)) to get an account’s balance), Mist will provide that same information in the UI without you even having to ask for it.
You can download Mist from this link. Download the version called Mist-installer, not the Ethereum-Wallet one.
The difference between Mist-installer and Ethereum-wallet is that Mist is, by itself, a web and Ethereum browser as well as a wallet interface. Ethereum-wallet has the browser functionality removed for safety, and only a single dapp installed — the wallet interface. Hence, they are the same, but the latter is limited in functionality.
The file you pick will depend on your operating system. macOS users will pick the .dmg file, Windows users will go for the .exe file, while Linux users will most often go with the .deb file.
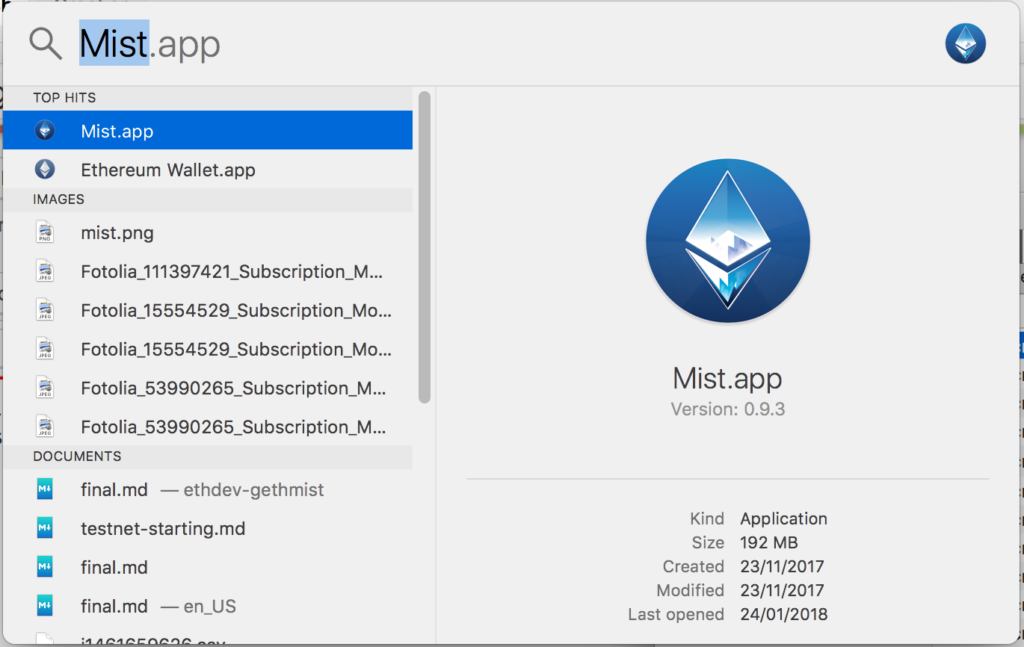
After having downloaded it, run the installation process then run the app. If you’re not sure where it got installed, just enter its name into your operating system’s search bar:
Mist: First Run
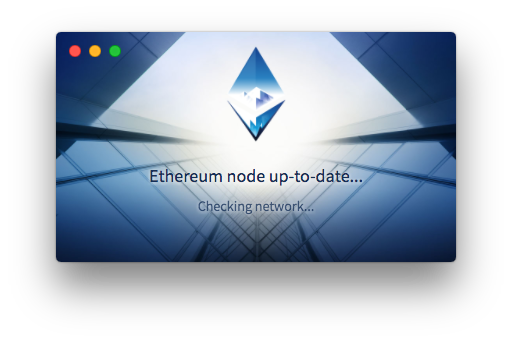
After running for the first time, Mist checks whether or not it has the latest Geth installed on the same machine and then checks for contact with the Ethereum network.
Then, Mist looks for peers — nodes it can connect to so it can download blockchain data from them.
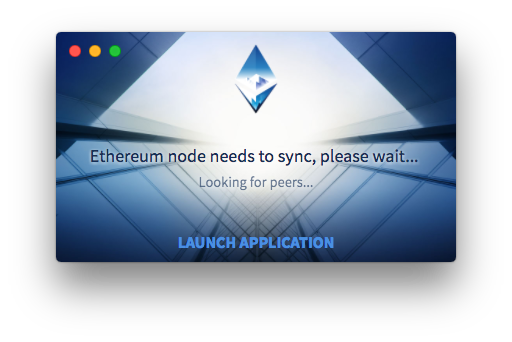
Having found them, Mist begins to download the extraordinary amount of required data.

This can take days, depending on the speed of the computer and internet connection. It doesn’t have to finish all at once: you can shut it down and come by later or leave it overnight. You can also launch the app outright and wait for sync in the background while actually using the app.
After syncing is finished, Mist will ask which network to use: Main or Test. Pick any of them. Unless you made an address beforehand in Geth via the personal.newAccount command (you probably didn’t and that’s fine), it’ll also ask you for a password. That password additionally secures your wallet, but don’t forget it: it cannot be changed and it cannot be restored. Choose wisely. The JSON file that gets generated by this process is then encrypted with this password, and can be imported into various wallet tools like MetaMask, MyEtherWallet, etc. To get to the JSON file(s) (for backup purposes) go to File -> Backup -> Accounts and Mist will open the folder containing the JSON files of generated addresses.
Mist: Addresses
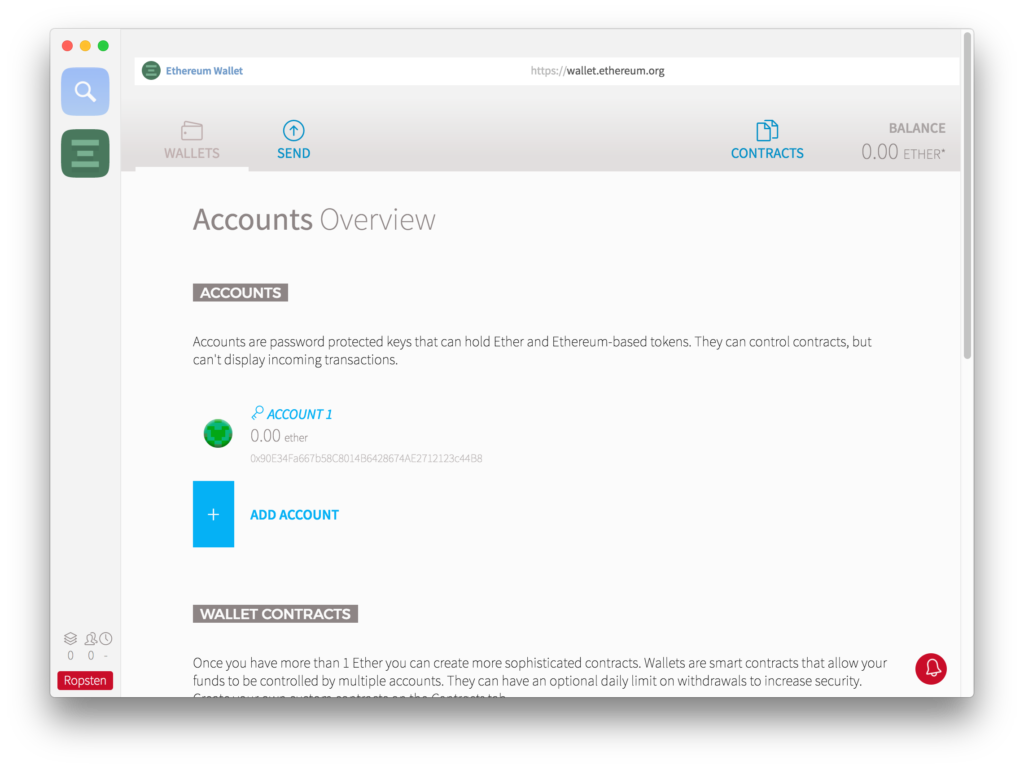
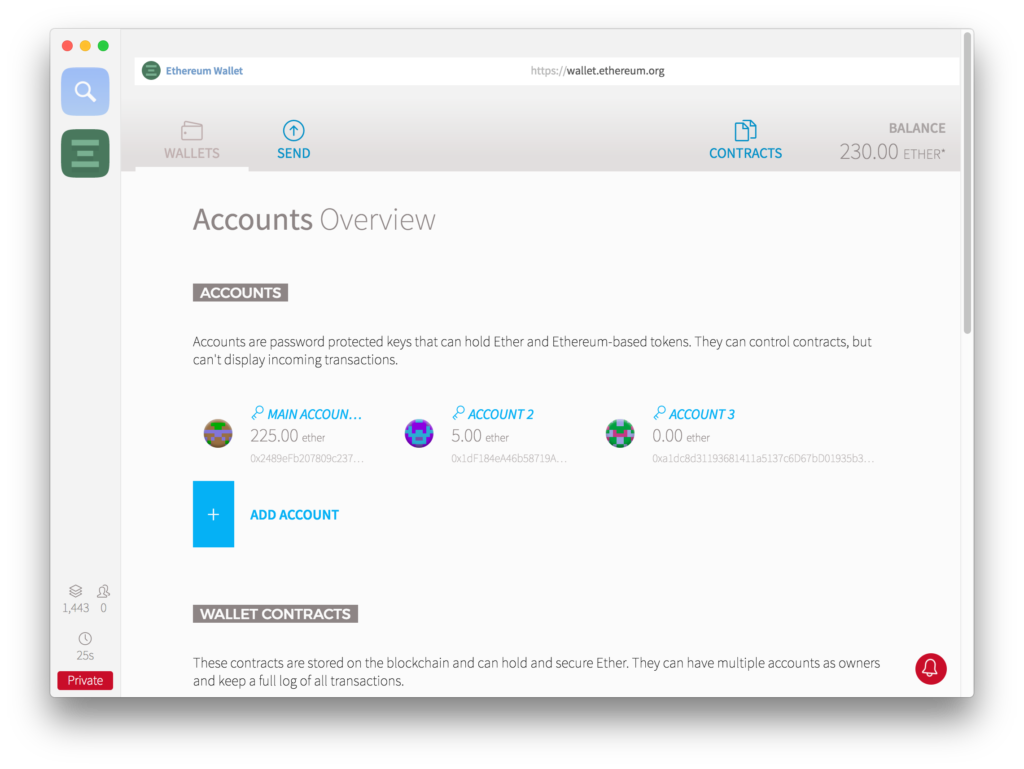
After these initial steps have been completed, the main screen of the Mist app will appear. It’ll only have the main address you just generated shown on the screen. That address is called a coinbase address, and that’s the address that gets credited with Ether when it’s mined if you’ll be mining it on this machine.
To be able to safely play with Ether and Mist’s functionality, we need to switch to the test network if you’re not already connected to it. In the Develop menu, go to Network -> Ropsten.
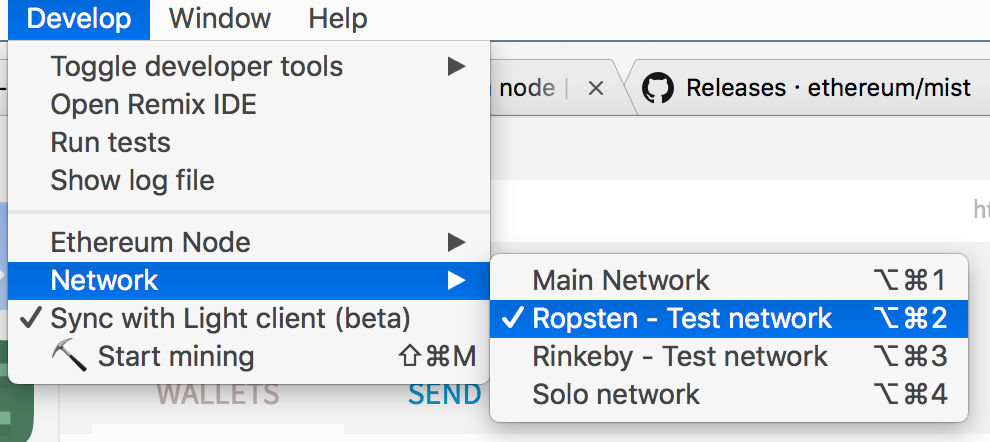
For an explanation of testnets, please read this post. The gist of it is that there exist various public test networks for testing Ethereum software, but the Ether on those networks is worthless, so there’s no danger in doing reckless things and developing carelessly. Ropsten is one such network.
Feel free to use the Add Account feature to add more addresses. One Geth/Mist can sustain an infinite number of addresses. The picture below shows three generated addresses.

If we click any of them, we’ll see some details.
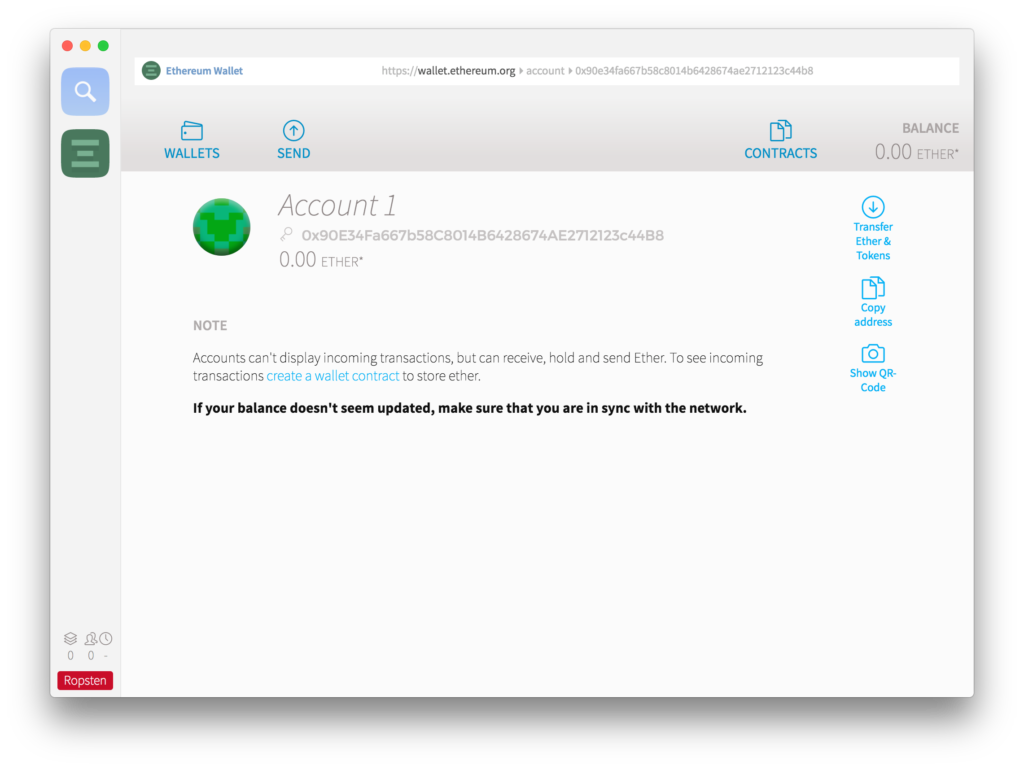
The part next to the icon above the balance — the one starting with 0x90 — is the address to which we can send Ether. But how do we get some? If you’re connected to the Ropsten network, you can use their faucet site: faucet.ropsten.be:3001/
Enter this address into the first field on that site and request some Ether.

If your node is synced up, the new balance should show up immediately. If it doesn’t, turn the app off and on again; it sometimes needs a reset to re-sync properly.
Sending and Receiving Ether
Sending is extremely simple. Open the Send interface in Mist, put the receiving address into “To” and select the sender under “From” (use the address you sent Ether to from the faucet).
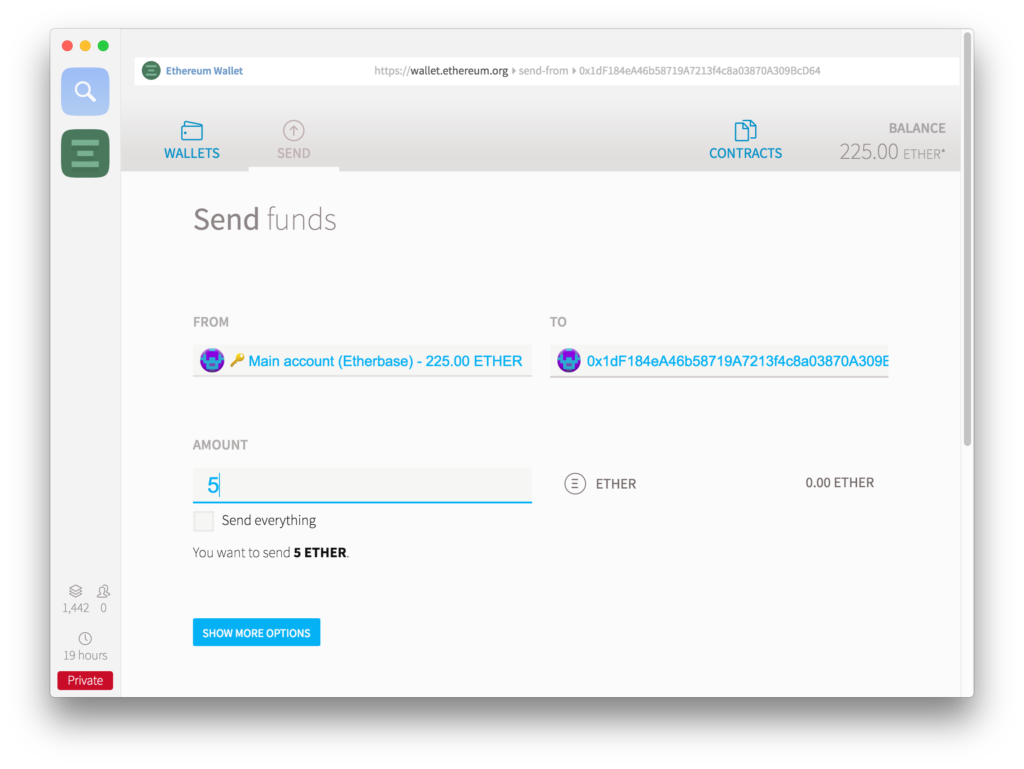
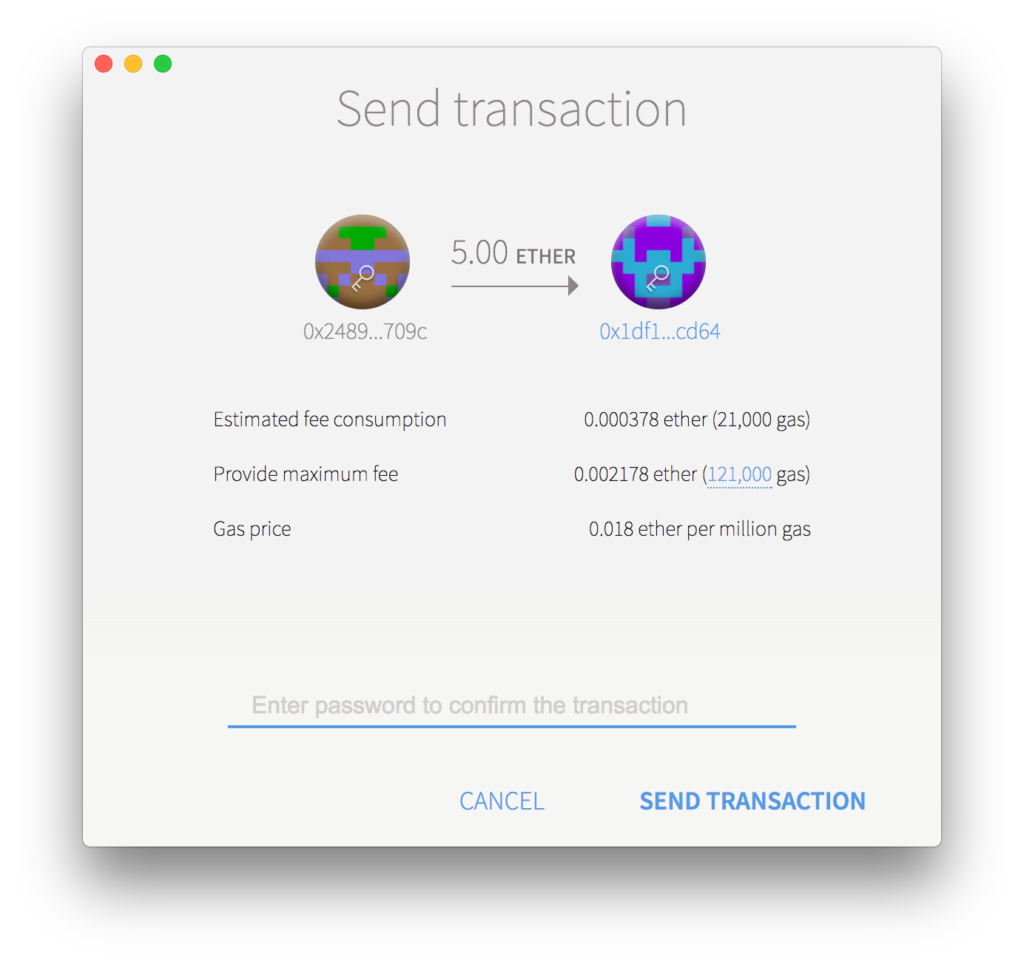
You can pick the sending speed at the bottom of the screen. Cheaper is slower. Press send to send Ether, and input the password you previously decided on when asked for it.
In this example, we’re sending 5 Eth from one address with 225 Eth to another with 0 Eth. The Ether should arrive almost instantly.
Contracts
Mist enables easy and user-friendly deployment of smart contracts to the Ethereum blockchain. This is enabled by two components of the Mist suite:
1. The Remix IDE
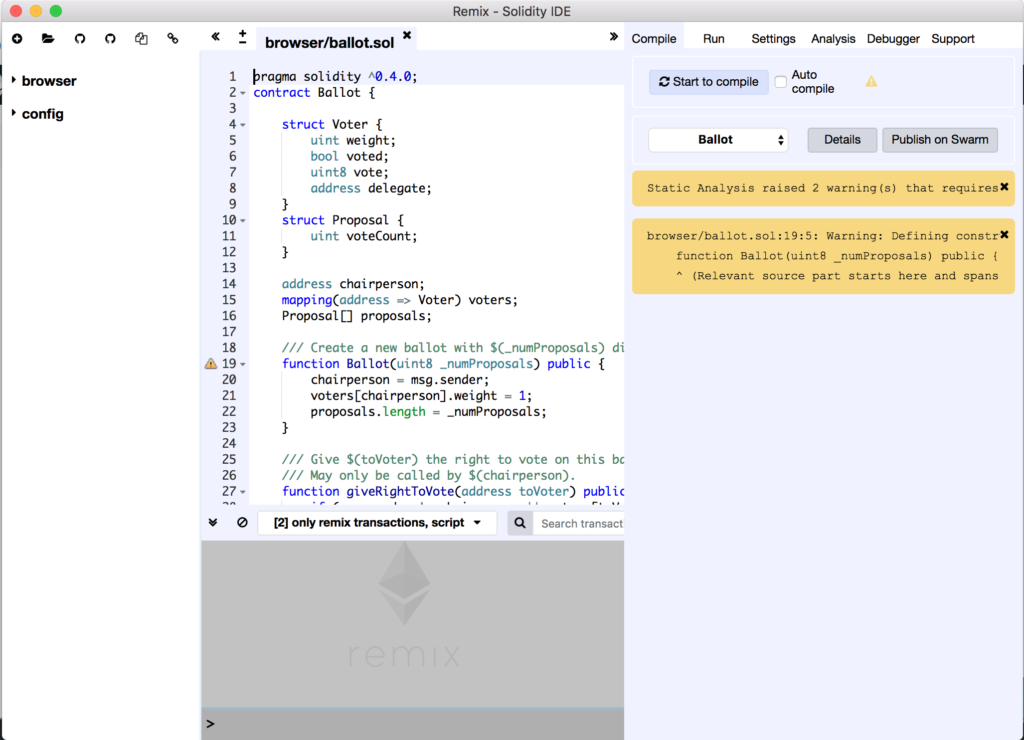
Remix is a web-based development environment for deploying smart contracts. Remix has syntax highlighting, snippets, contract compilation and deployment script generation and a lot of other interesting features.
You can access remix by clicking Develop on the toolbar and then clicking “Open Remix IDE”. You should get a window similar to this:
2. Contract deployments
In Remix, you can write, compile and test your smart contracts. After you’re done, you can go back to Mist and open the Contracts tab from the Wallet page. You should get a screen like this
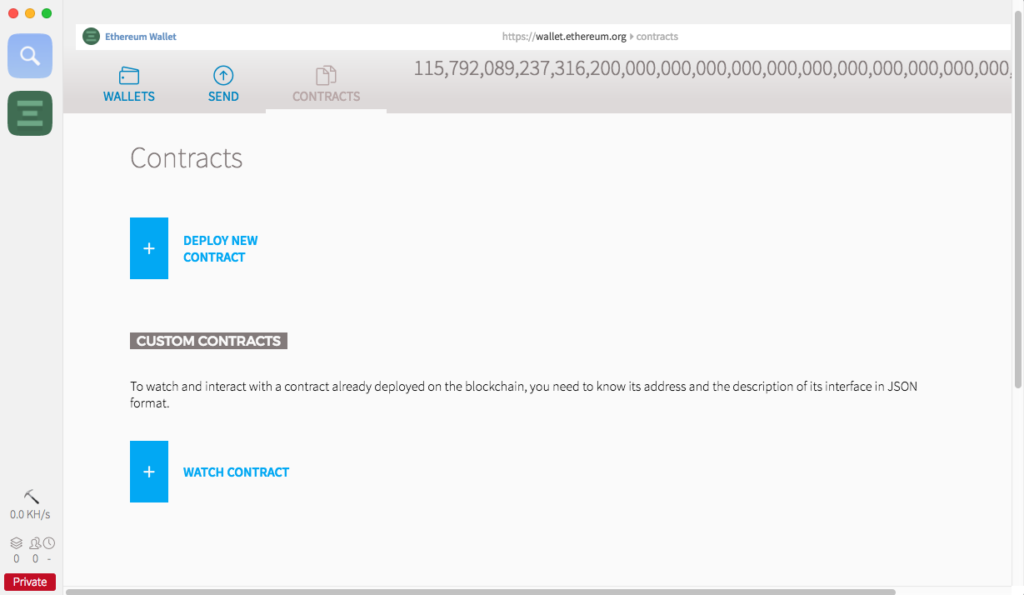
When you click on Deploy new contract, a set of inputs will open. There you can paste your contract source code or bytecode and deploy it to the Ethereum network. After you’re done, you can interact with your contracts.
Conclusion
Geth and Mist are essential tools for every ambitious Ethereum network participant. If you’d like to try mining or developing Ethereum software (ICOs, tokens, dapps), or if you just want to control your own node and thus your own wallet’s key, thereby signing your own transactions instead of relying on third-party software, installing and getting to know Geth and Mist is definitely worth the trouble.