jQuery Pagination Plugins
This popular article was updated in February, 2017, to reflect the current state of jQuery pagination plugins.
Presenting a long, unwieldy list of results is generally a poor approach to displaying your information. That’s why pagination, especially with longer content, is important to get right.
Server-side pagination is generally used to fetch paged content, displaying a set of results separated into pages (often with a unique URL). While that works fine, client-side pagination is another solution. Let’s have a look into some jQuery-based plugins that you can leverage to create paginated results.
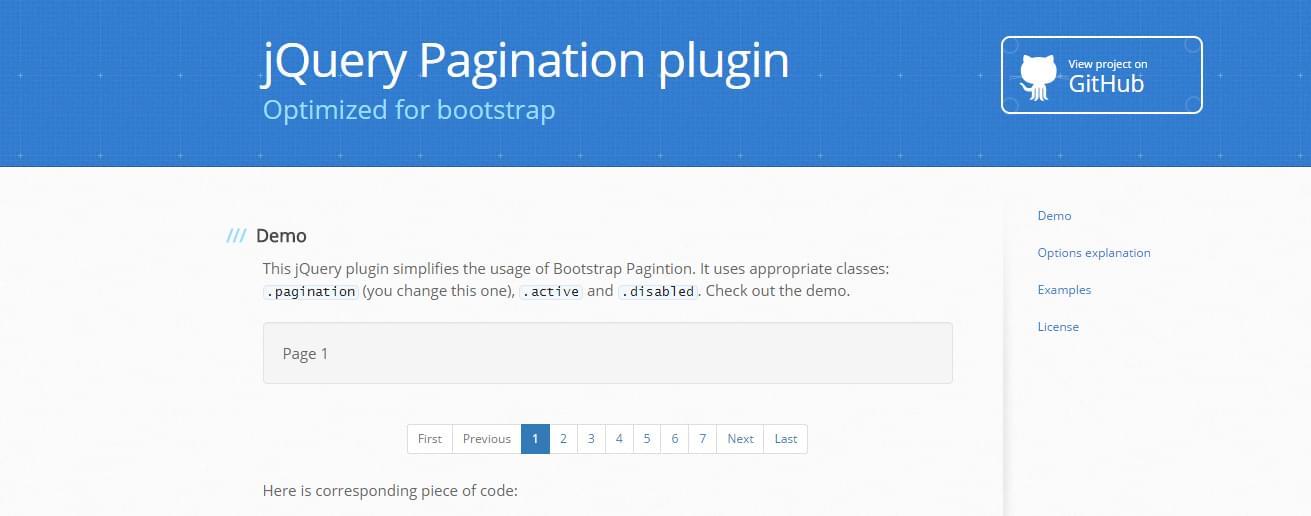
TWBS jQuery Pagination

This plugin helps create simple, effective, and useful pagination for your site. All you need to do is specify an element (preferably a ul or div) and the plugin takes care of the rest. TWBS requires jQuery, the plugin itself, and optionally the Bootstrap CSS.
You might find this useful in situations where you already have the data ready and are just using the paginator to switch the content in view. You can hook into the onPageClick event and determine which page to load (or optionally run an Ajax call to pull results from your DB). Either way, this plugin is simple, easy to use, and provides several configuration options to suit your needs.
The plugin looks solid and has been maintained and updated across several revisions (now up to version 1.4.1). It’s a good library that looks like it will be maintained and expanded on in the future.
JQuery BootPag

jQuery Bootpag lets you create a simple pagination control with minimal fuss. The plugin has several options, such as the ability to control the next/previous labels and various classes applied to the controller (such as on first, last and subsequent page elements)
To get up and running you’ll need jQuery, Bootstrap JS, and this plugin’s JS files. You’ll also probably want the Bootstrap CSS file unless you plan to style it yourself. Once you have those in place you can listen to the page event which is triggered when navigating between pages.
The event handles the page being requested and the event itself. It’s here you can pull in content or change the DOM. Another useful element is the href property that can be set. Setting this property lets you add an anchor link to the pages’ URL (e.g href: "#result-page-{{number}}") which adds the plugin’s internal page number to URL. You can name this whatever you like, but it’s useful for creating sets of data and maintaining state.
Where you might find this useful is instead of loading the first page by default, you could check to see if your URL contains a specific page and then initialize Bootpag to that page; loading page 7 of the results if someone navigated directly to there, for example.
The plugin hasn’t been updated since mid-2015, and is currently on version 1.0.7. However, it works as you’d expect and provides enough options for you to customize it as you require.
jQuery Datatable

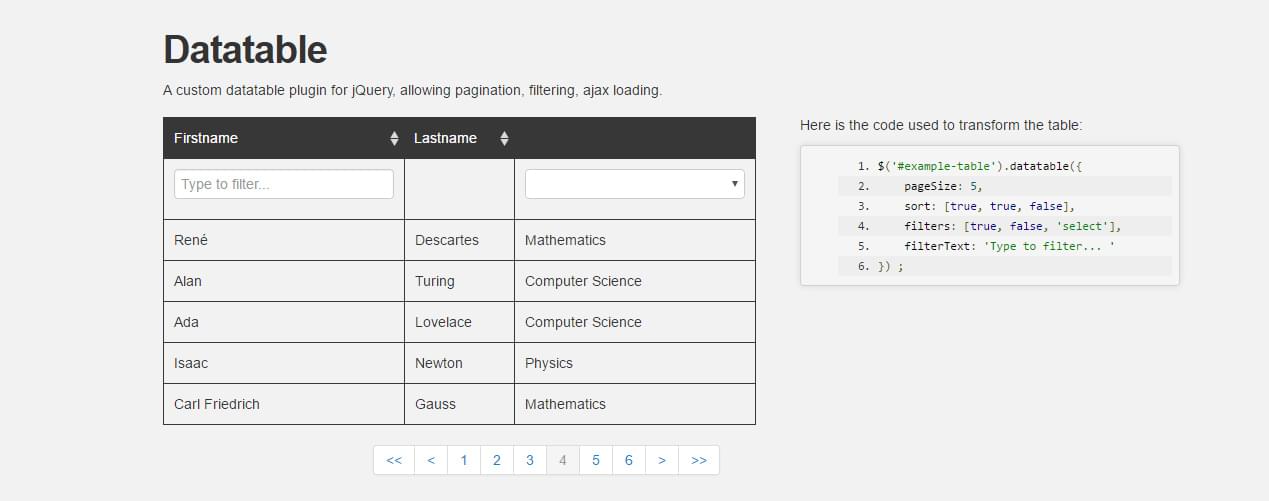
jQuery Datatable (not to be confused with the almost identically named DataTables plugin) is a bit different to the others we’ve looked at. This plugin creates a paginated table for your data set. You can not only navigate through the paginated data, but also optionally filter and sort by fields.
To get up and running you’ll need to add both the datatable and datatable.jquery JS files to your project (there doesn’t appear to be a live CDN for these currently). Both of these are needed, along with jQuery, to get you up and running.
You will also need either Bootstrap for the styling or to style it yourself. A good place to start would be our CodePen which you can fork and go from there.
Datatable comes complete with a series of options that you can adjust to suit your needs. The docs provide a good overview on what you can accomplish by just adjusting settings.
Where Datatable shines is its powerful advanced configuration, such as adjusting which columns are filterable (and how they filter). You can use the filters option to determine what columns will be filterable and how (text input, select element, regex pattern etc).
The data pulled in by the plugin is directly from the table. However, you can specify an array of values/objects to populate the table. This would be helpful if you’re dynamically populating your list so its values aren’t collected from the DOM. The Ajax portion of the table can be set also so that it points to a specific endpoint and will pull in new info continually (perfect to ensure your table is kept in a consistent state).
The onChange event also is useful, letting you know what page you’re moving to and where you came from. The plugin handles the updating of the data in the table, but you could use this to run additional functions or perform some logic.
Overall, Datatable provides a fairly robust set of options to help you display, sort and paginate through your data set. The plugin repository looks to be fairly regularly updated (the current release is v2.0). There’s been a solid number of commits and from the looks of it, it improves with every version.
jPages Plugin

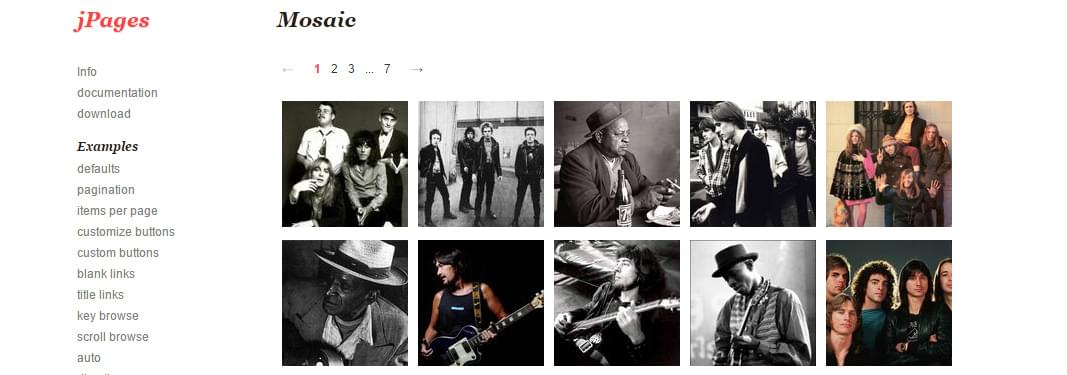
jPages is a different style of pagination control plugin.
jPages also has support for both Animate.css and Lazy Load. Since it’s an older plugin you’ll need to test the most up to date version of each to see if they still work. To save you time, the Mosaic Demo page links internally to this version of Animate.css and the Lazy Load demo page links to this version of lazyload.js
The documentation for jPages is fairly decent considering it’s an older plugin. The docs outline the various properties you can adjust and the events to hook onto. You can adjust settings such as controlling pagination via scroll and adjusting the textual components for the buttons, amongst other things.
To get a basic example up and running, start by including the jPages JS file and then creating a basic HTML structure with your navigation bar at the top followed by a secondary container with your data. This plugin looks for the holder element and then looks for an adjacent sibling container.
<div class="holder"></div>
<ul id="itemContainer">
    <li>...</li>
    <li>...</li>
    <li>...</li>
    <li>...</li>
    <li>...</li>
</ul>
Now, you need to call the jPages function to set it all up, adding in a selector for the pagination control and its associated data container.
//find the `.holder' class and the 'itemContainer' element with our data
$("div.holder").jPages({
   containerID : "itemContainer"
 });
Being an older plugin it’s not available on GitHub. The plugin’s website showcases several examples and outlines all of the properties/events you can hook in to. If you’re looking for an up-to-date plugin then this most likely won’t be it. Where this plugin excels is in creating customizable pagination blocks. With this plugin, you can create tables, galleries or even a basic slider.
jQuery Pajinate

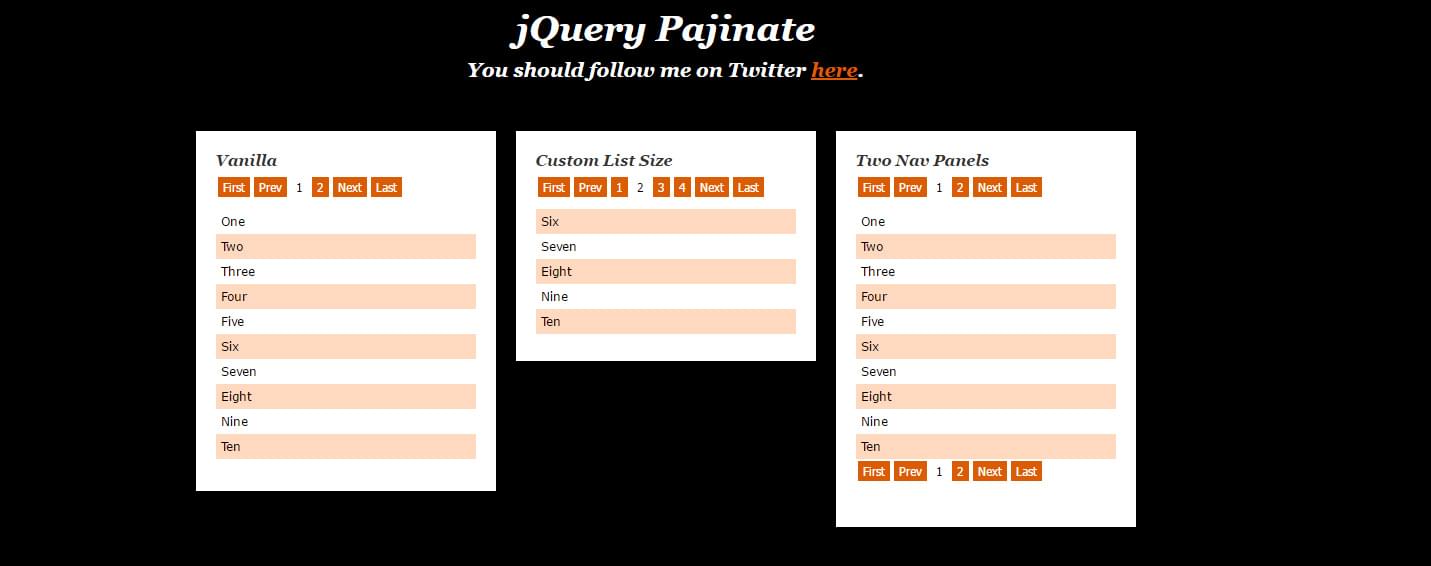
jQuery Pajinate is an older, but still strong pagination plugin you can leverage for your sites. Its only purpose is to take a long list of elements inside a single container and spread them out across several ‘pages’. It’s different to some of our other plugins as it does the sorting/pagination directly on the content without you having to adjust anything. This might be beneficial but also means you’ll need to customize it more if that doesn’t suit your needs.
Note: Being an older library there are a few concerns:
- The demo may throw an unsafe script error. This is because the demo page is requesting a resource over HTTP instead of HTTPS. When the script loads it works just fine (just be aware of the warning).
- You’ll need to stick to jQuery 1xx or 2xx as the 3xx branch of jQuery has removed functionality the library depended on. Any of the first two works fine.
You’ll need to download the jQuery Pajinate script from its GitHub page and include it with your project (along with jQuery). Once you have those two elements you can set up the paginator by calling the pajinate() method.
By default, the plugin will look for certain elements in order to initialize. Pajinate will try to find an element where it will append its navigation elements, by default looking for the page_navigation element. It also expects to find another element inside which will contain the content, by default looking for the content element. These can be changed and set as properties when calling pajinate.
Here’s a basic example of how the markup should appear
<div id="page_container">
    <div class="page_navigation"></div>
    <ul class="content">
        <li> <p>One</p> </li>
        <li> <p>Two</p> </li>
        <li> <p>Three</p> </li>
        <li> <p>Four</p> </li>
        <li> <p>Five</p> </li>
        <li> <p>Six</p> </li>
        <li> <p>Seven</p> </li>
        <li> <p>Eight</p> </li>
    </ul>
</div>
Along with the corresponding JS
$('#page_container9').pajinate({
  num_page_links_to_display : 3,
  items_per_page : 6,
  wrap_around: true,
  show_first_last: false
});
There are several other useful properties you can also set, such as the number of items to display and labels for the controls. The documentation at the bottom of their GitHub page outlines the properties you can adjust.
Overall, it’s an older plugin that hasn’t been updated for several years (since 2013). It works well on older versions of jQuery and because of that its place should be for legacy site builds (where you know you’ll be stuck on an old jQuery version but you still need to add certain functionality).
This article was peer reviewed by Dominic Myers. Thanks to all of SitePoint’s peer reviewers for making SitePoint content the best it can be!
