Quick Tip: 4 Steps to Install Custom PHP Extensions into Zend Server 7

Zend Server 7 is an excellent tool for managing, deploying and monitoring your PHP applications. We’ve covered its installation in this quick tip, and we’ve given it a somewhat thorough review in this post.
In this Quick Tip, we’ll go through the procedure of installing custom PHP extensions into it. We’ll be installing Phalcon, but the procedure is identical for nearly all extensions out there.
Step 1: Install Zend Server
Have an instance of ZS up and running. Follow this quick tip to do that.
Step 2: Modify the $PATH
To use the command line PHP tools that come bundled with Zend Server, we need to add the path to them to the system $PATH variable:
echo "PATH=\"/usr/local/zend/bin:\$PATH"\" >> ~/.profile
source ~/.profile
php --version
If the last command executes successfully, you’ve succeeded.
This isn’t enough, though. Phalcon’s installation script needs to be executed with administrator rights, and sudo users don’t use the same PATH variable as the regular ones. We’ll deal with that later.
Step 3: Download and Build Phalcon
We’ll start off by installing some missing tools: git and autoconf.
sudo apt-get install git autoconf
cd ~/Code
git clone --depth=1 git://github.com/phalcon/cphalcon.git
cd cphalcon/build
Since the PHP development tools (phpize, for example) bundled with ZS are in a different bin folder, the root user doesn’t know how to get them (root users use different $PATH variables than regular ones). Running sudo ./install as per Phalcon’s installation instructions would therefore not work. We can, however, simulate a login by running sudo -i, which keeps the current user’s $PATH.
sudo -i
cd /home/vagrant/Code/cphalcon/build
./install
Step 4: Activate Phalcon
After the installation completes, feel free to exit sudo mode with exit. Then, let’s make a phalcon.ini file in /usr/local/zend/etc/conf.d/.
sudo vim /usr/local/zend/etc/conf.d/phalcon.iniGive it the content:
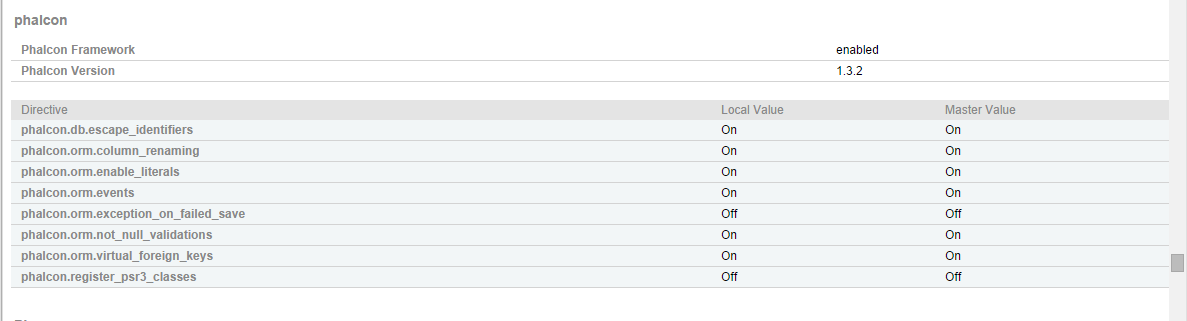
extension=phalcon.soThen, reload the Zend Server through the GUI. Go into Configurations -> PHP and scroll to the bottom of the extensions list. Phalcon will be there, loaded. If you check out PhpInfo under Overview -> Server Info, you’ll notice Phalcon has been installed and is active.
That’s all there is to it! You can now use Phalcon in all of your Zend Server powered apps!