Quick Tip: Install Zend Server 7 on an Ubuntu 14.04 Vagrant Box

I recently took a look at Zend Server 7, the latest version of the powerful application monitor/manager suite. This quick tip will show you how to get it installed on a Vagrant box so you too can experiment with its features.
Step 1: Install Prerequisites
Make sure you have Virtualbox and Vagrant installed – the newer the better.
Step 2: Clone and Boot
Clone this repository. Adapted from Homestead Improved and originally Homestead, this setup will boot up a bare-bones Trusty (Ubuntu 14.04 LTS 64bit) VM. After the cloning is complete, boot it with vagrant up. The only real difference from a truly bare bones Trusty box is the fact that we’ve forwarded port 10081 which is what Zend Server uses by default.
git clone https://github.com/Swader/trustead
cd trustead
vagrant up
After the booting is done, enter the VM with vagrant ssh.
Step 3: Download and Run Installer
You can download a 30 day trial version installer from Zend here, or you can grab a trial-version installer instance from our CDN, like so:
cd Code
wget http://dab1nmslvvntp.cloudfront.net/wp-content/uploads/2014/07/1406030465ZendServer-7.0.0-RepositoryInstaller-linux.tar.gz
tar xvzf 1406030465ZendServer-7.0.0-RepositoryInstaller-linux.tar.gz
cd ZendServer-RepositoryInstaller-linux/
sudo ./install_zs.sh 5.5 nginx
Once these commands have been executed, Zend Server will be installed and running. If you don’t have Nginx installed (and on the default Trusty box, you don’t), it will pull it in alongside the version of PHP you specify (5.5 in our case).
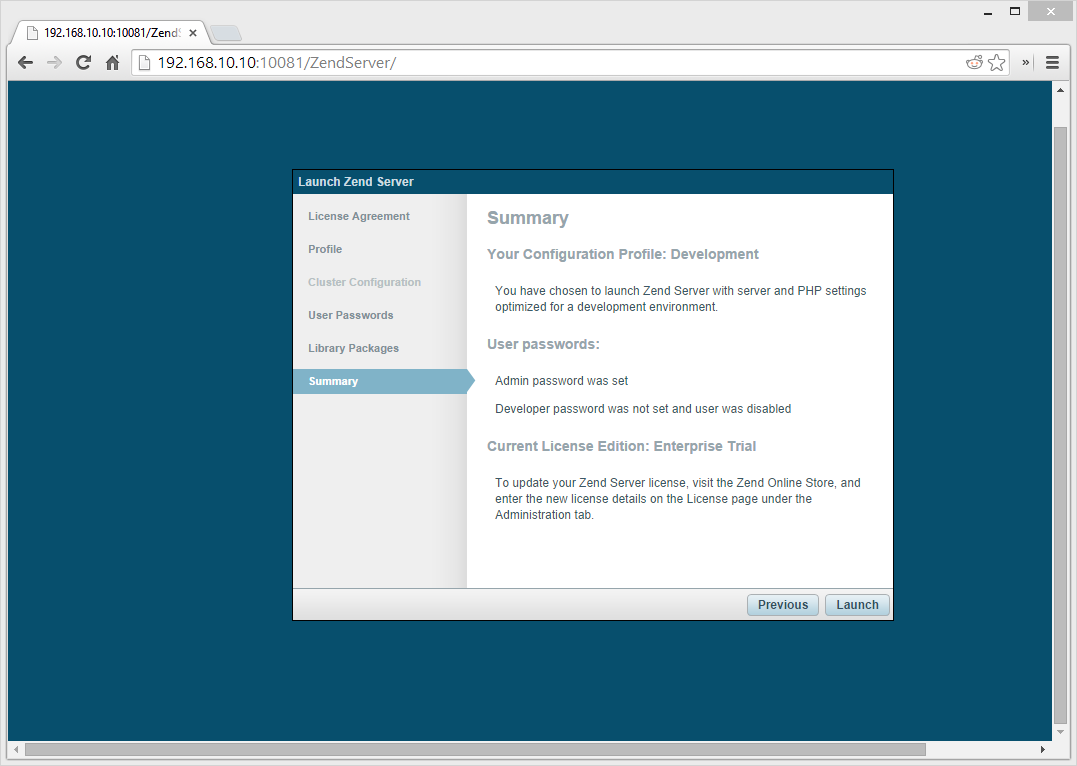
Once installed, you should be able to access the Zend Server interface from your host machine’s browser via http://192.168.10.10:10081. This interface will then let you finish the installation from within the browser.
Step 4: Fix Log Permissions
To be able to do read/writes on logs, we need to give the zend user permission to alter the log files, as per instructions.
sudo chmod o+r /var/log/nginx/{access,error}.log[Optional] Step 5: Deploy an Application
Optionally, deploy a sample application. In this case, let’s go with PhpMyAdmin.
In the VM, install MySQL with sudo apt-get install mysql-server.
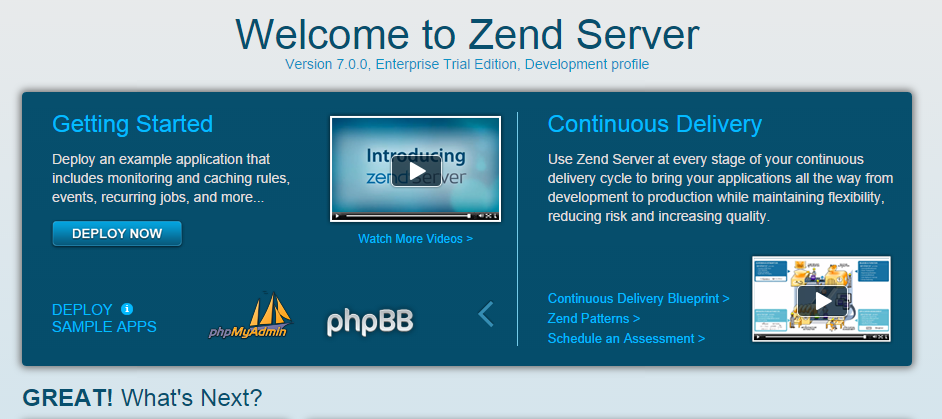
On the main Page Guide screen of the Zend Server GUI (the first page when you click on Overview), click the right arrow under the “Deploy Apps” to scroll to PhpMyAdmin.
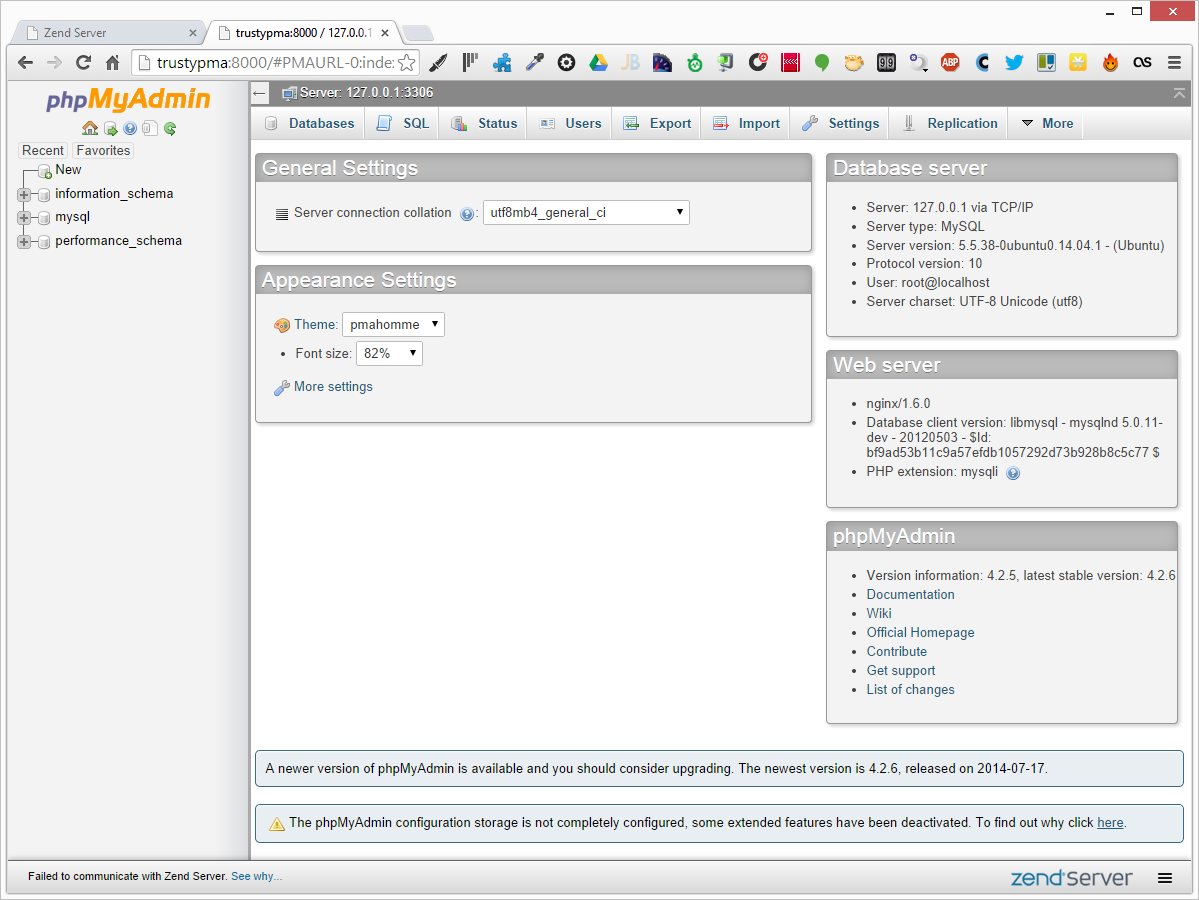
In the Zend Server GUI, walk through the installation wizard of installing PhpMyAdmin (pay attention to the questions about root password), and when asked to give it a default server, add a new one. I used http://trustypma and added it to my hosts file on the host machine, so I can access Zend Server’s PhpMyAdmin via http://trustypma:8000 from the host browser.
That’s it! You have a working instance of Zend Server installed, complete with enterprise features.