Migrating Your Android or iOS App from Parse
This article was peer reviewed by Tim Severin and Adrian Sandu. Thanks to all of SitePoint’s peer reviewers for making SitePoint content the best it can be!
Not since the shuttering of Google Reader has there been quite so many outcries of surprise and annoyance amongst tech fans. Facebook’s announcement that their popular developer service platform, Parse, will shut in a years time caused ripples of panic amongst developers who rely on it. It’s always been a bad idea to be too reliant on a centralized, commercial service as it may not always last for ever. Parse wont be the first or the last to close and it’s a good lesson to us all to be flexible.
But enough discussion, let’s get down to practical steps on what to do with your Parse powered application.
Drop in Replacements
If you don’t want to host things yourself, there are other commercial alternatives to Parse, replacing one or all the services it offers. Below I will highlight some of the larger players, but for a comprehensive list, relatedcode has compiled an amazing list on GitHub.
Twitter Fabric
Fabric focusses more on app analytics and optimization based upon them. It shares many features with Parse, but lacks the useful data storage and sync. Fabric has native clients for iOS and Android and has a smooth setup process that fits right into any build processes you may have. SitePoint has a great introduction to Fabric to get you started.
Firebase
Firebase focuses on scalable data storage and authentication for your apps and is an ideal Parse replacement. It has an Android, iOS and JavaScript SDK as well as a REST API. SitePoint has lots of tutorials covering integrating the service with your apps.
Syncano
Syncano offers a combination of data storage and channels that your app subscribes to and are triggered by changes in the data. It has a wide variety of SDKs for most app and backend languages you care to throw at it and SitePoint has published a couple of posts on using Syncano to get you started.
AWS Mobile Hub
In typical AWS style, their offering has everything you might need for a mobile app. It leverages AWS services your app may need and adds mobile specific services such as testing. With so many options and AWS’s typically verbose documentation, it can be hard to know where to start.
Migration
As an example application to migrate I am going to take Joyce Echessa’s SitePoint articles on creating a backend for mobile applications with Parse (iOS and Android). You may wish to follow those, or try to follow along with your own applications.
The underpinnings of Parse’s data are based upon MongoDB, a well known NoSQL database with plenty of history and support. Interacting with your data relied on using the Parse API and this has been open sourced into an equally standard, but stripped down Node.JS / Express application.
If you don’t have MongoDB installed on your system, find instructions here. Once it’s installed, start the server but don’t worry about database or schema creation, Parse will handle that.
Note: Only MongoDB 2.6.X and 3.0.X are supported by the Parse migration service, which are older versions, so make sure you install those.
Note: The migration tool expects a remote MongoDB installation, which isn’t great for testing. I tried exposing a local installation with Ngrok, but couldn’t get it to work. Hopefully you have a MongoDB installation running somewhere to experiment with.
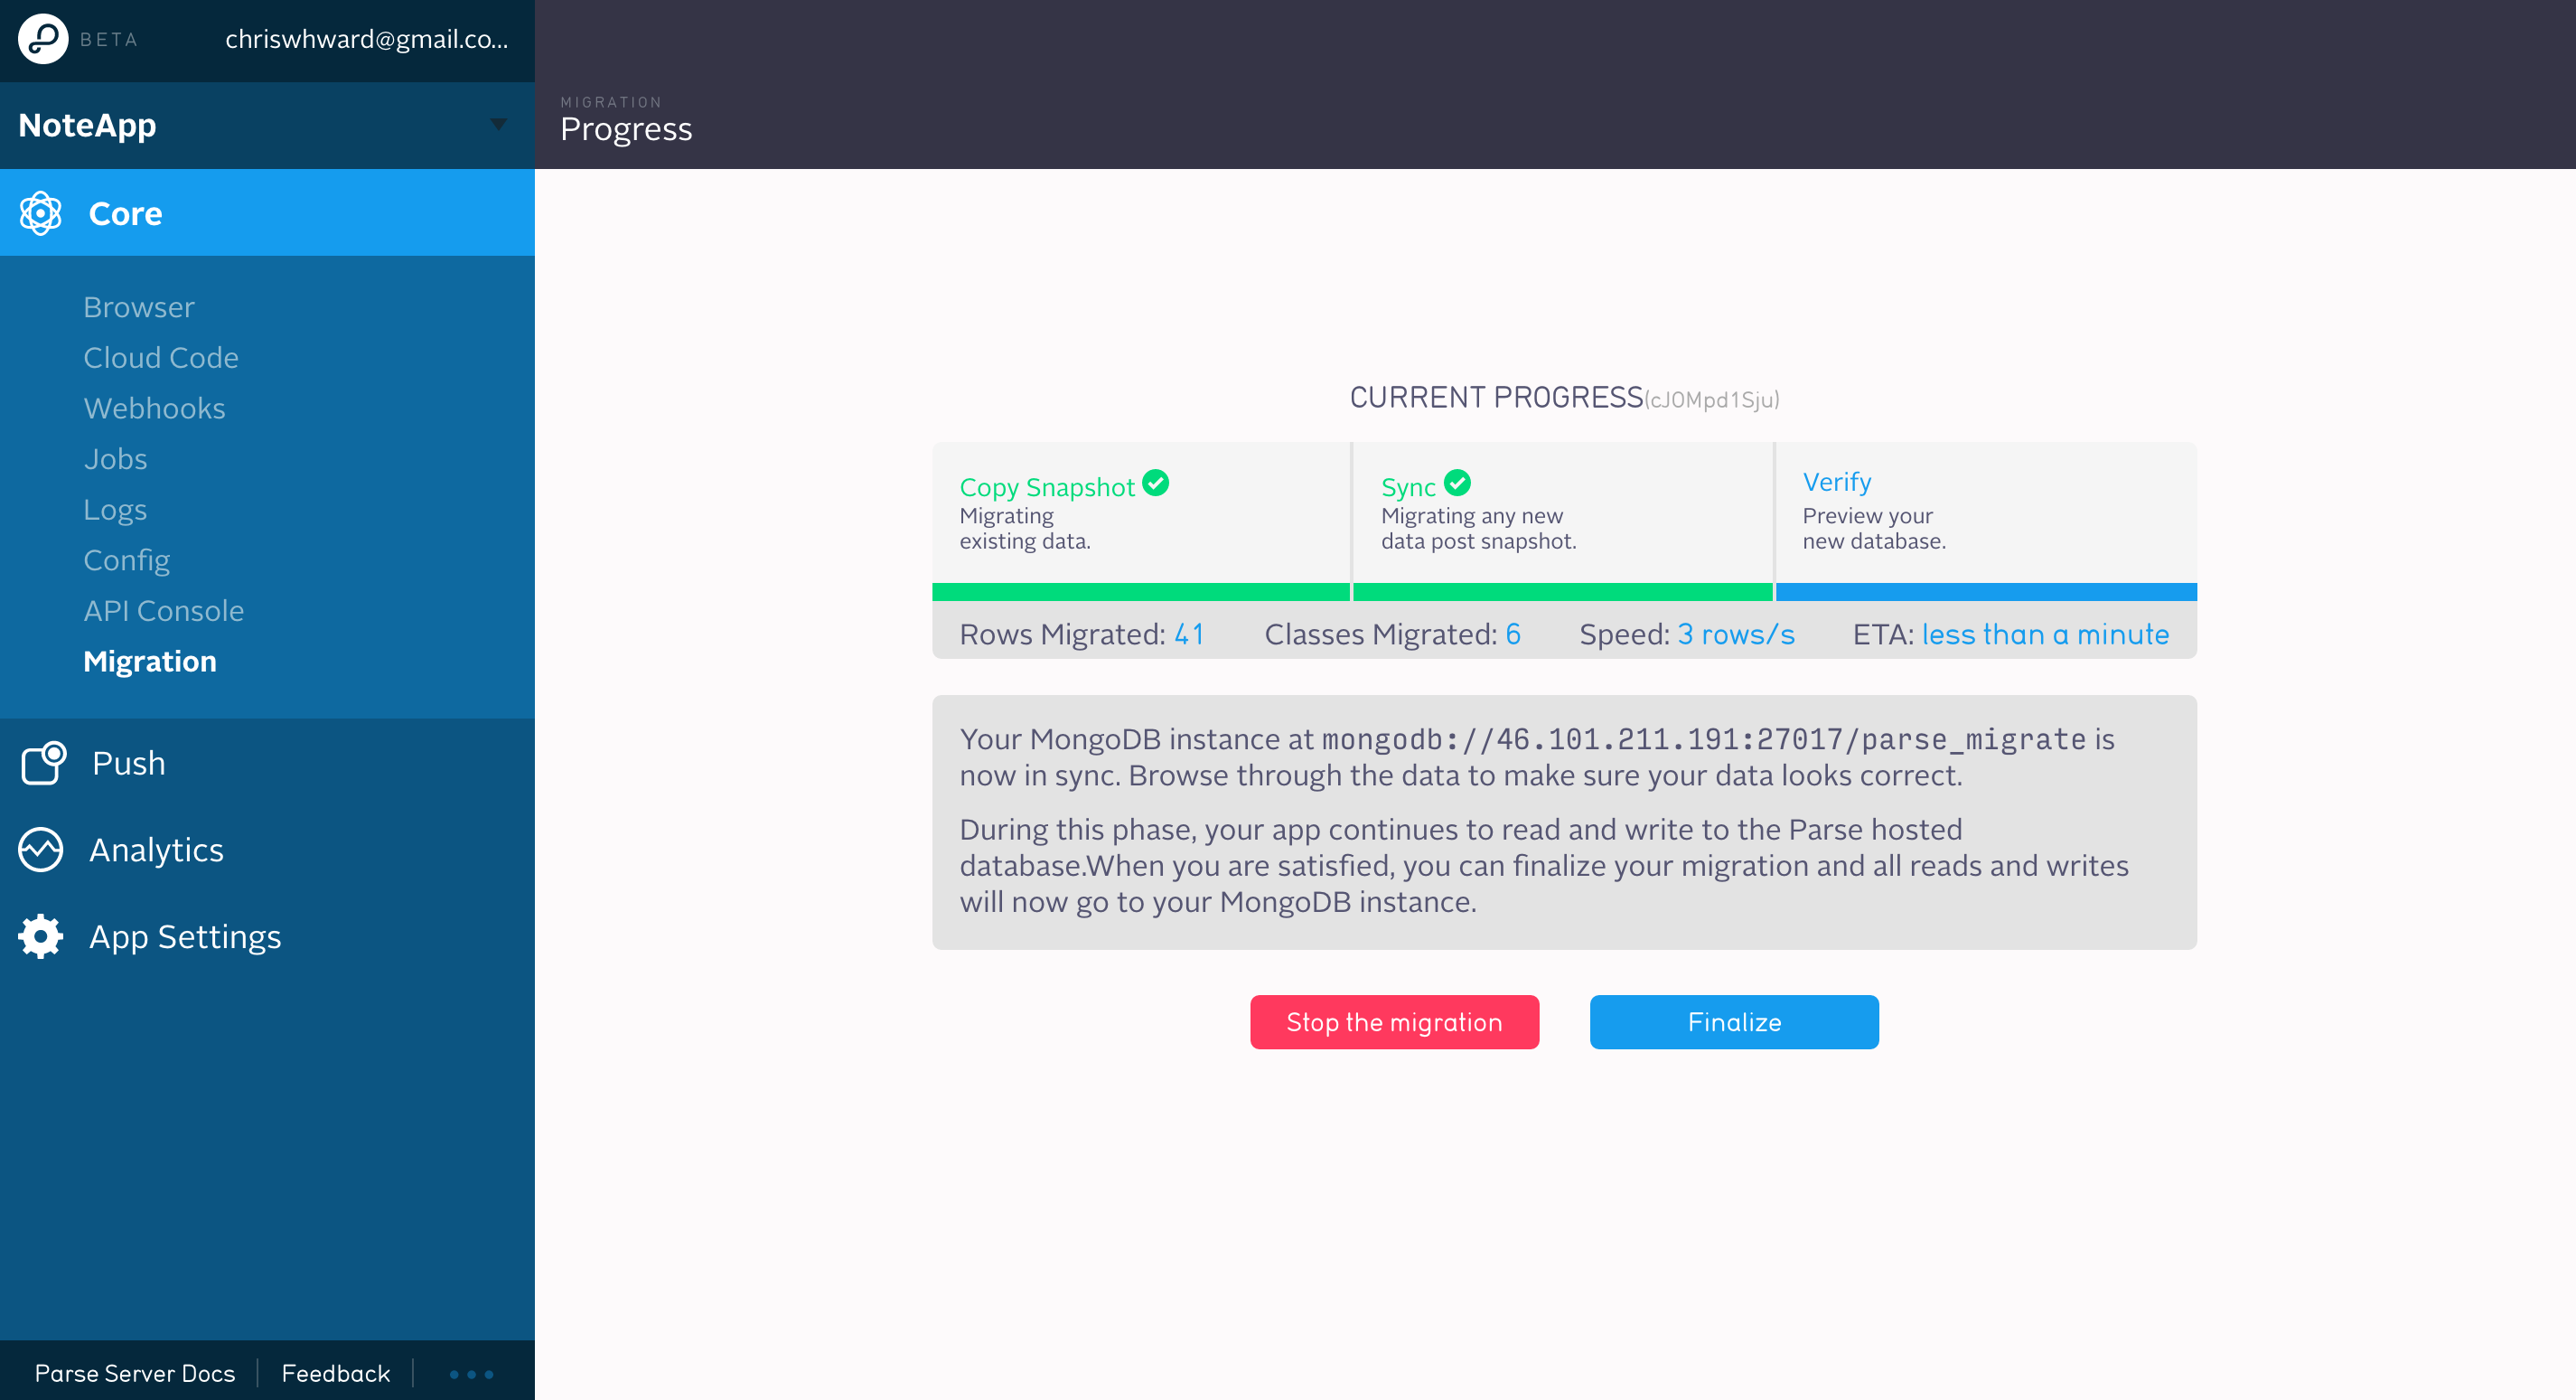
Export your Parse data from the App Settings -> General -> Migrate to external database section of Parse’s new dashboard and enter your MongoDB connection url, something like mongodb://server_ip:27017. This will transfer your parse data straight into a MongoDB database.
Here’s my successful migration:

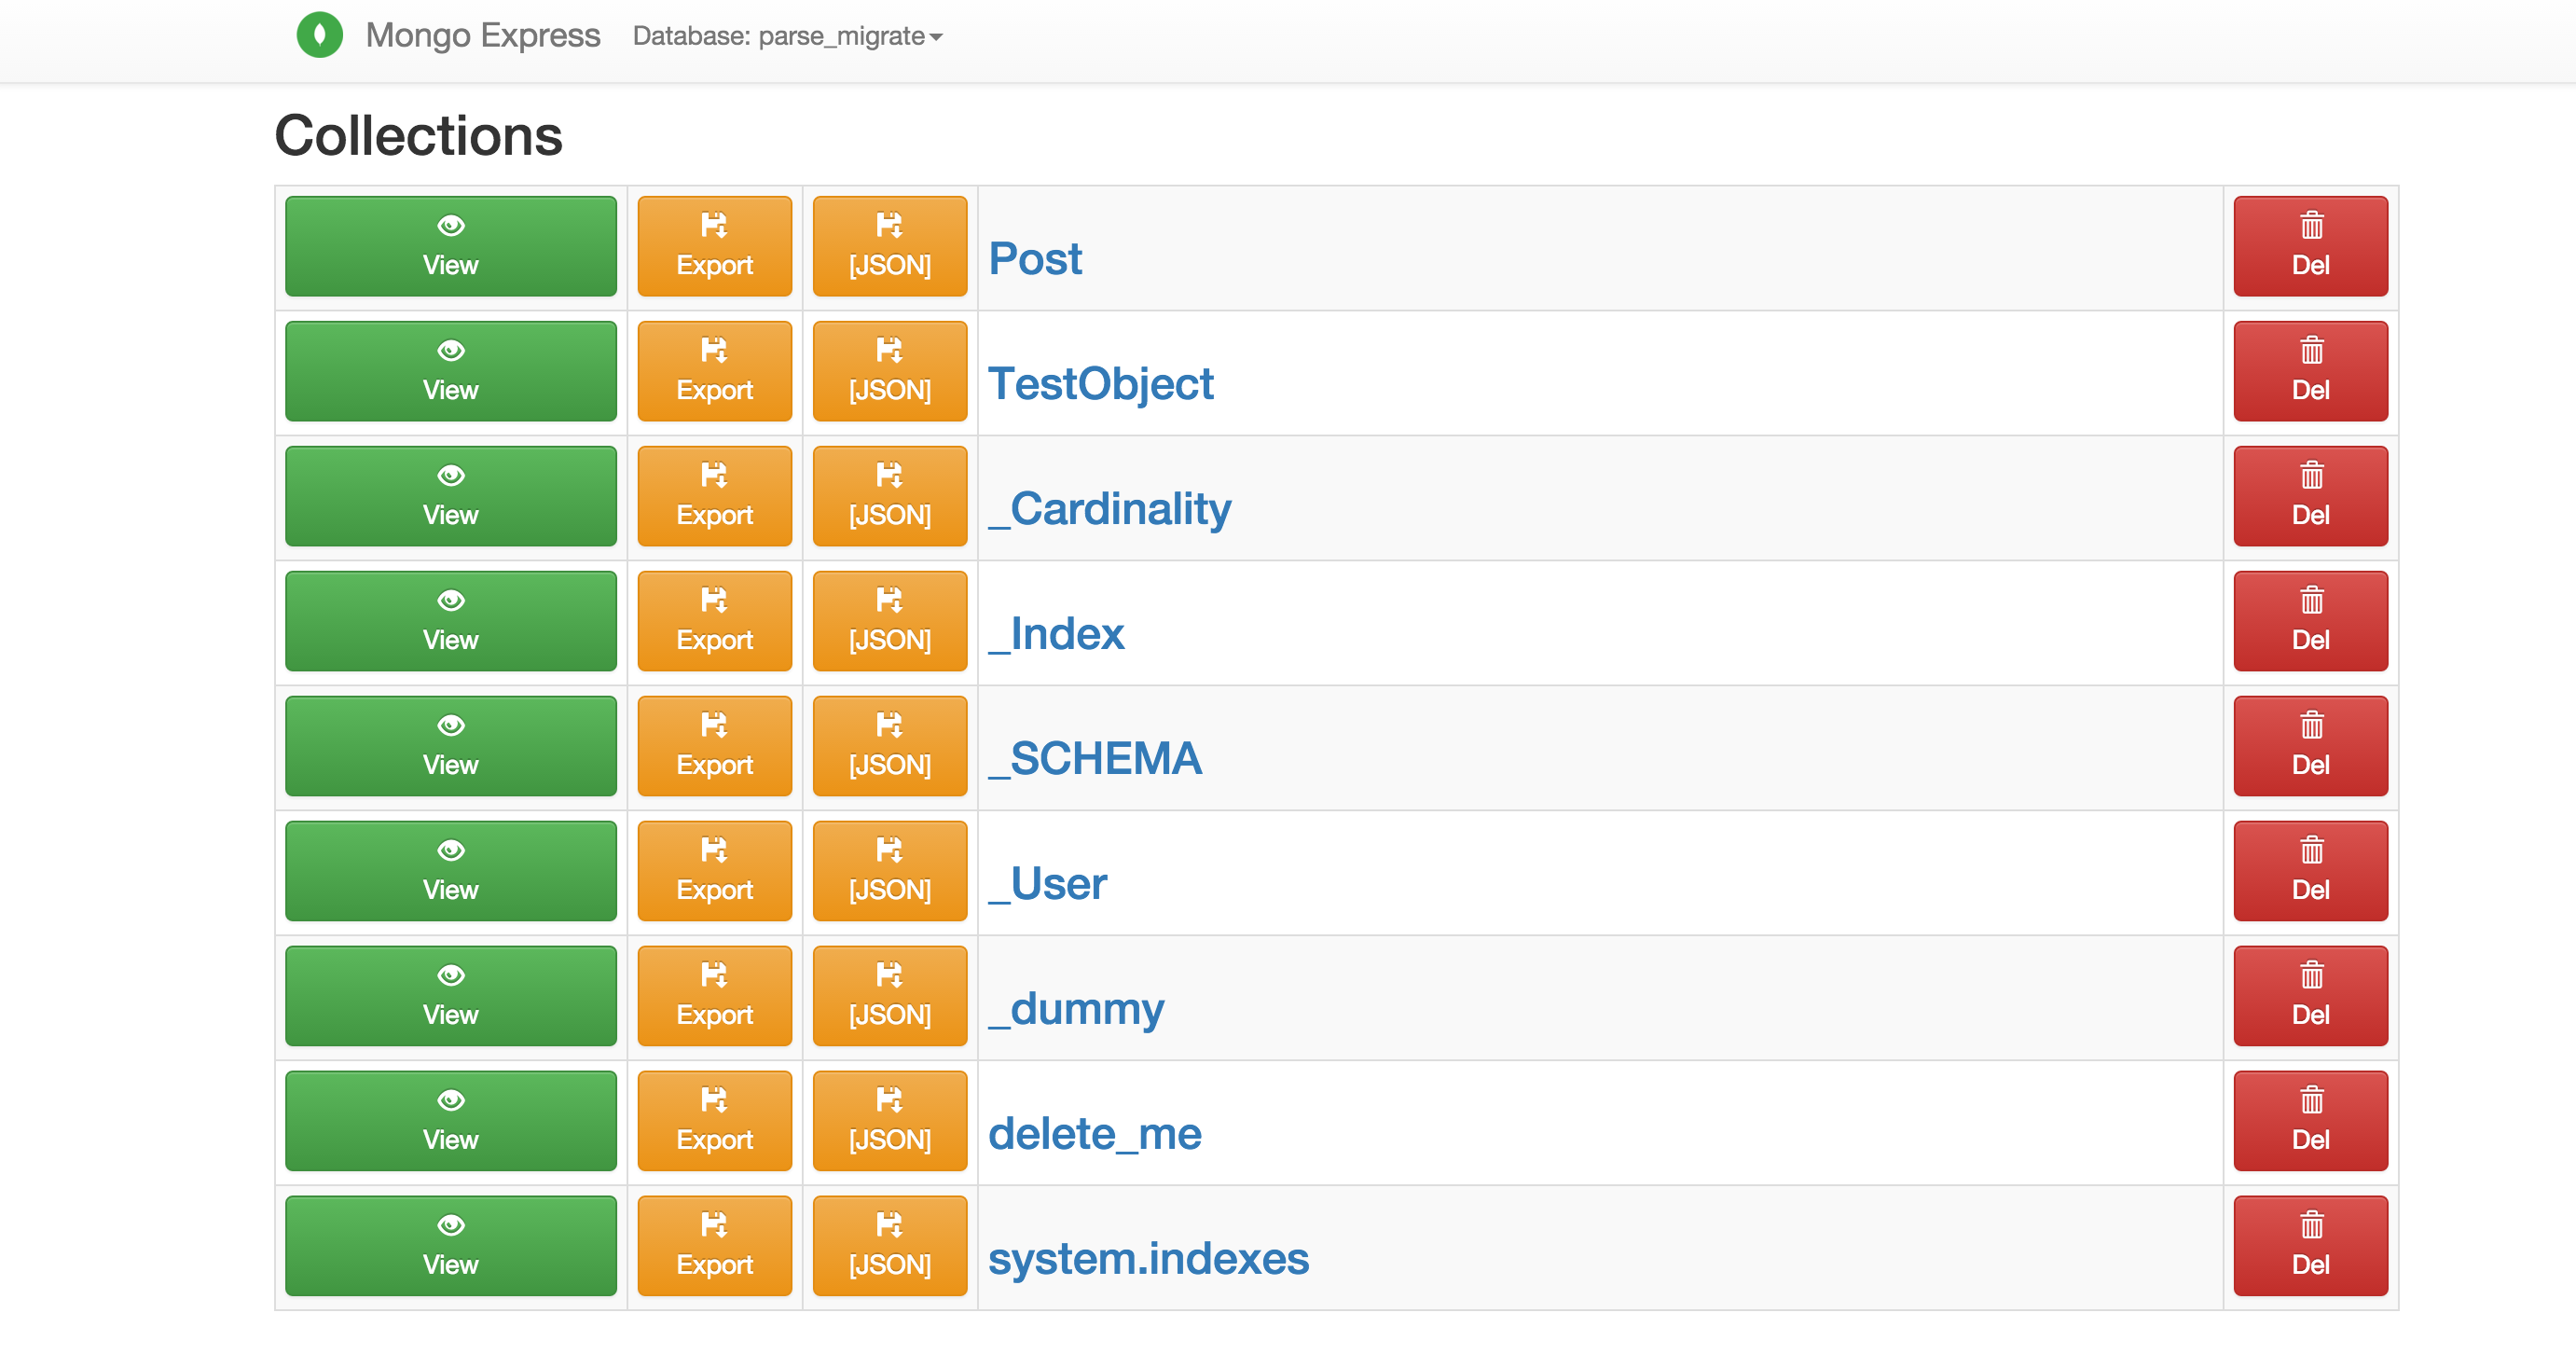
And here I use Mongo Express to prove the data is migrated:

Parse Server
At this point you could connect your app straight to the MongoDB database, but the Parse server itself has been open sourced to provide easier access and less changes to your app. So let’s see this process through to the end.
I used the Parse server example to get a quick test server up and running, but the server is also available as a Node / Express module for adding to any existing application stack you may already have.
The installation steps for the server example are correct until it tells you to start a local MongoDB instance, as our data has been migrated to a remote server. This is a bit of a flaw with Parse’s documented migration process as you can’t migrate to a local instance, but this ‘next step’ tells you to connect to start a local instance! I had a few issues like this…
It’s easy to change the server example to suit our needs, open index.js in the cloned project and change lines 7-18 to the following:
var databaseUri = process.env.DATABASE_URI || process.env.MONGOLAB_URI || 'mongodb://SERVER_IP:27017/db';

if (!databaseUri) {
  console.log('DATABASE_URI not specified, falling back to localhost.');
}

var api = new ParseServer({
  databaseURI: databaseUri || 'mongodb://SERVER_IP:27017/db',
  cloud: process.env.CLOUD_CODE_MAIN || __dirname + '/cloud/main.js',
  appId: process.env.APP_ID || 'Add Value Here',
  masterKey: process.env.MASTER_KEY || 'Add Value Here' //Add your master key here. Keep it secret!
});
And now run:
npm startUpdating Your App
To switch the Parse servers to our own self-hosted instance, the Parse library needs to be at least version 1.12 for iOS or 1.13.0 for Android. If you are upgrading the iOS application from our original tutorial, follow the steps here and if you are upgrading the Android app, these steps.
Next switch to the locally running Parse server by changing the app Parse configuration settings.
iOS
[Parse initializeWithConfiguration:[ParseClientConfiguration configurationWithBlock:^(id<ParseMutableClientConfiguration> configuration) {
   configuration.applicationId = @"YOUR_APP_ID";
   configuration.clientKey = @"YOUR_APP_CLIENT_KEY";
   configuration.server = @"http://localhost:1337/parse/";
}]];Note: If you receive the following error:
"[Error]: The resource could not be loaded because the App Transport Security policy requires the use of a secure connection."The proper solution is to run your Parse server on a secure connection, but for testing purposes you can disable iOS’s secure connection by following the steps mentioned here.
Android
Parse.initialize(new Parse.Configuration.Builder(myContext)
    .applicationId("YOUR_APP_ID")
    .clientKey("YOUR_APP_CLIENT_KEY")
    .server("http://localhost:1337/parse/")

    .build()
);
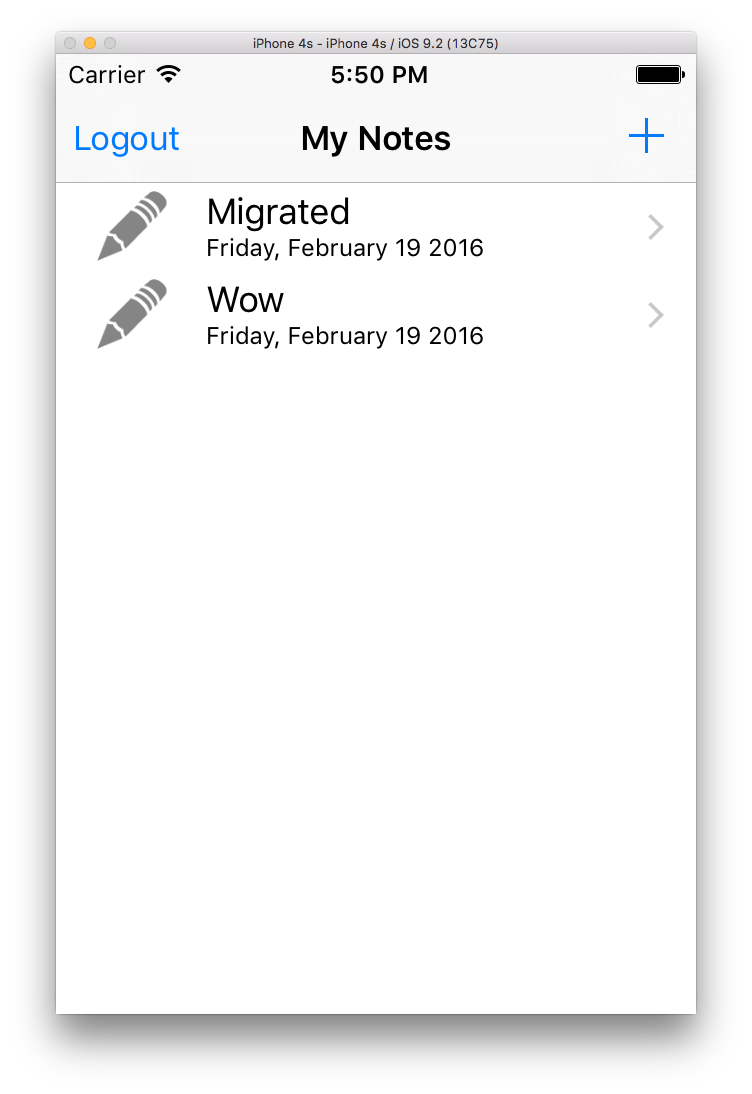
Clean and rebuild your app and hopefully everything is much like before when it was connected to hosted Parse. Here’s the iOS version:

Conclusion
Writing this tutorial took some time as Parse’s migration documentation is inconsistent and patchy in places. I have hopefully successfully distilled the steps to something more concise and with a practical example. I imagine that many of you are trying to migrate far more complex apps than this tutorial, so here are some sources of documentation I found most useful:
- Parse’s general migration guide. Note that with many of the other services offered by Parse, you are recommended to switch to standalone options.
- Parse Server guide, the configuration options are most useful.
If you have any other comments or questions, please let me know in the comments below.
