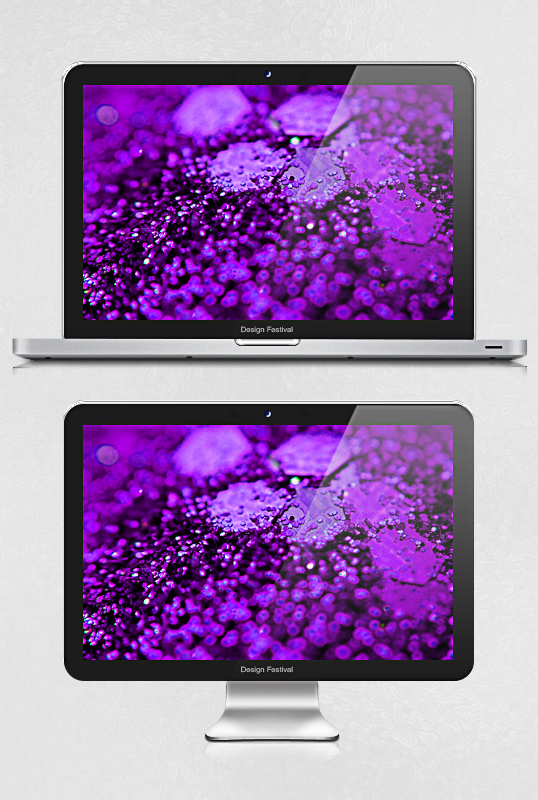
Create Sleek, Stylish Laptop and Monitor Mockups in Photoshop
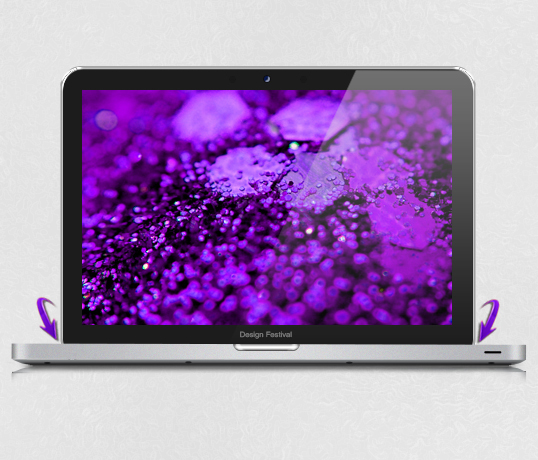
In this tutorial, I will walk you through the process of creating sleek and stylish mockups in Photoshop from scratch. We’ll create laptop and monitor mockups, which are a perfect choice for displaying your artwork, websites, or apps. Along the way, we’ll use of different shape tools, the pen tool, layer styling, and a technique for creating a subtle reflection of an object through an easy, step-by-step approach.
Resources:
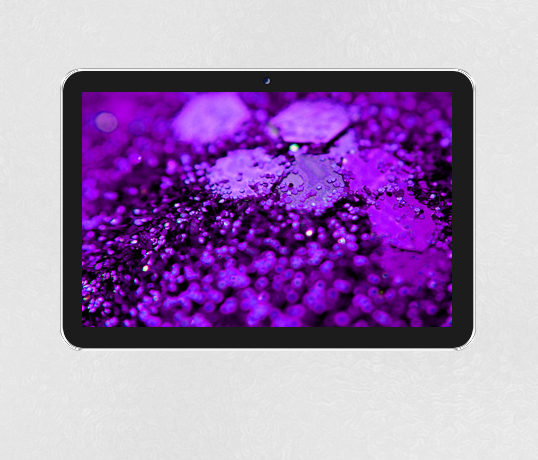
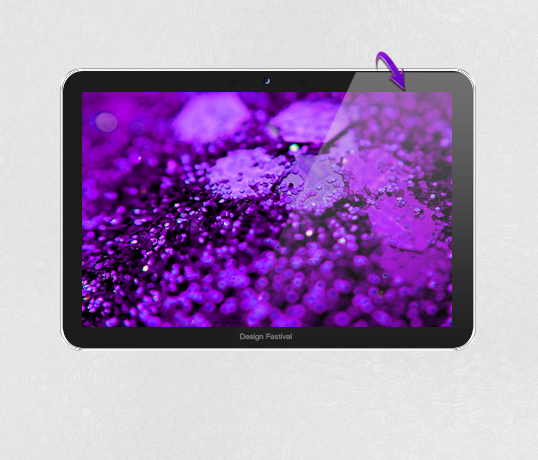
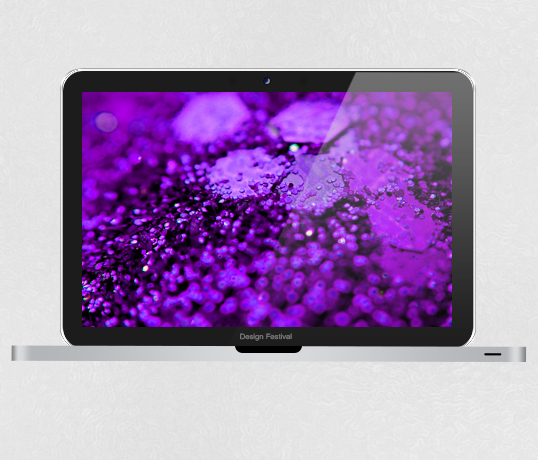
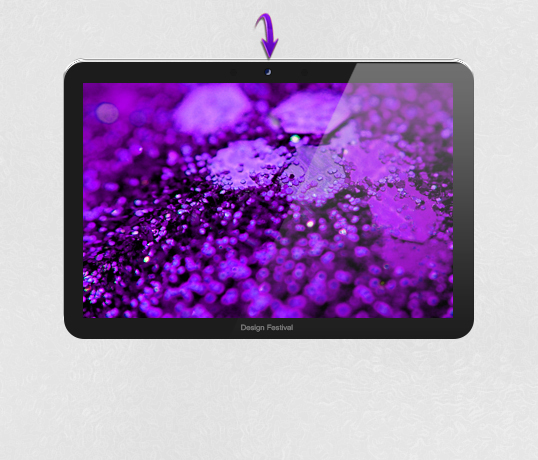
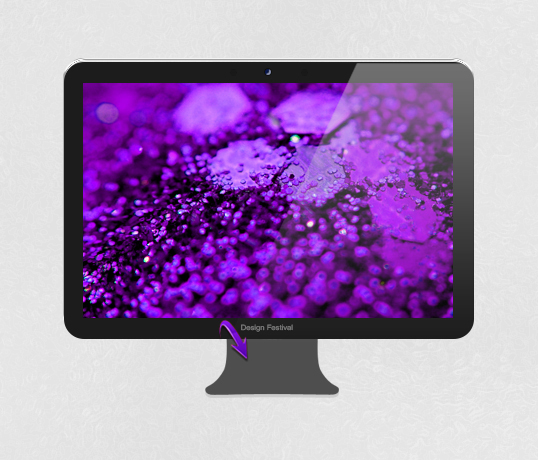
Before we start, have a look at what we are going to create.
Step 1
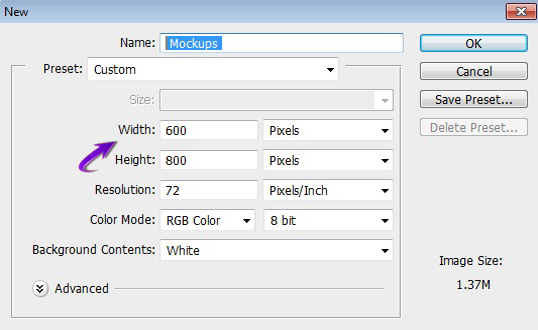
Create a new document in Photoshop with a 600px Width and an 800px Height.
Step 2
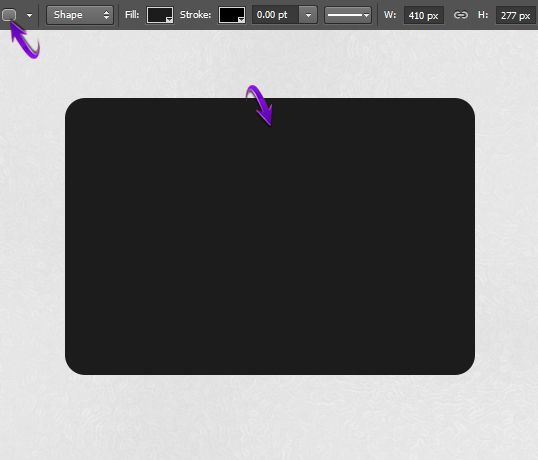
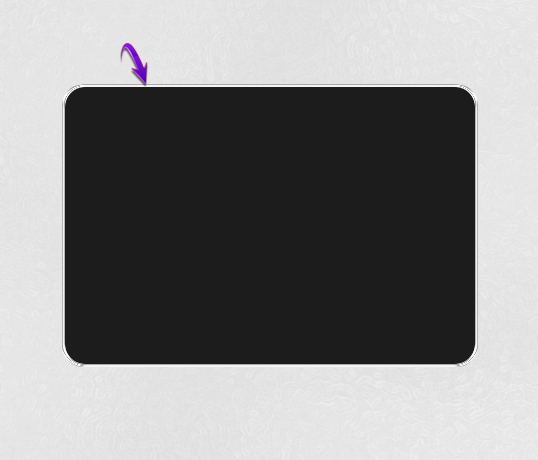
I’m using a lighter gray textured background; you can start with a white background or whatever background you prefer. We’ll make the laptop’s screen first. Set #1c1c1c as your foreground color and select the Rounded Rectangle Tool to draw the rectangle with a 20px radius.
Step 3
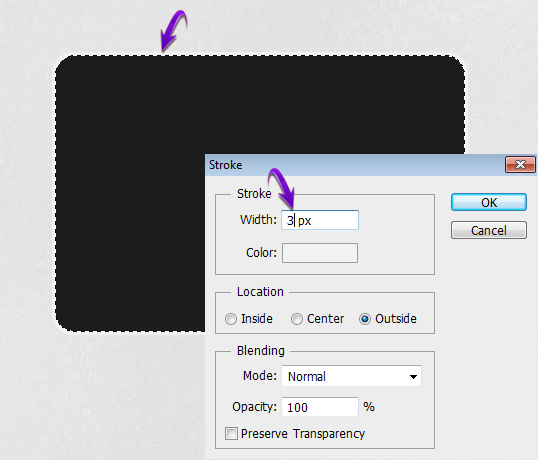
Now press Ctrl + Click on the rectangle layer to make selection around it. Then, create a new layer and go to “Edit” > “Stroke.” Use the values provided below to make a stroke.
Step 4
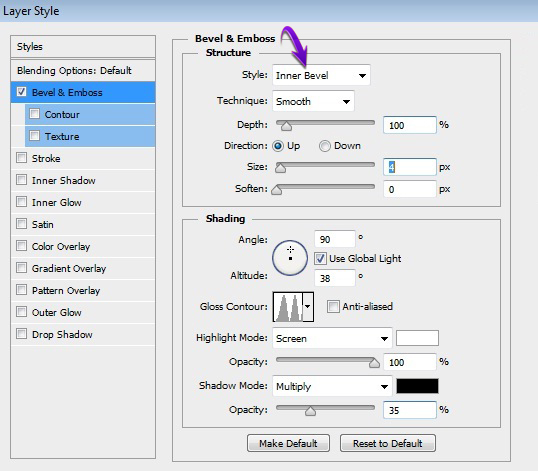
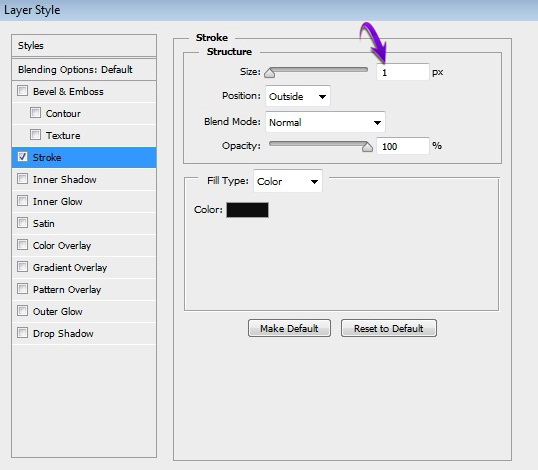
Double-click on the stroke layer to open the Layer Style window, and apply the settings provided below for “Bevel and Emboss.”
Step 5
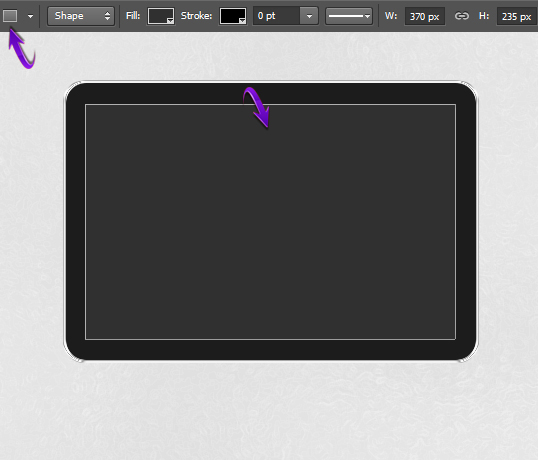
Next, to make display screen, select the Rectangle Tool to draw a rectangle inside the rounded rectangle, as shown below. I’ve used #303030 as the rectangle’s color.
Step 6
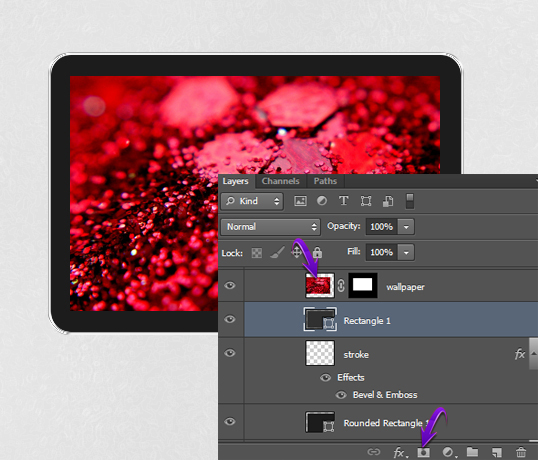
Open the wallpaper file in Photoshop, press Ctrl + “A” to select it, and then press Ctrl + “C” to copy the selection. Come back to your document and press Ctrl + “V” to paste the wallpaper here. Resize and position it using Free Transform Tool (Ctrl + “T”). Click on wallpaper layer, then press Ctrl + <the smaller rectangle layer layer> to make selection around it. Then, click the “Add layer mask” icon, which is present at the bottom of the layers panel. This way, the wallpaper would be confined to the main screen.
Step 7
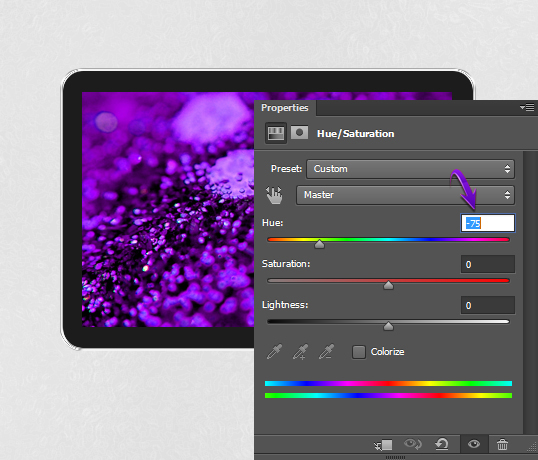
Now, to change color of the wallpaper, press Ctrl + <the layer mask thumbnail of the wallpaper layer> to select it. Then, click on the “Create new fill or adjustment layer” icon. Choose the option of “Hue/Saturation” and use the given values to give it a violet tone.
Step 8
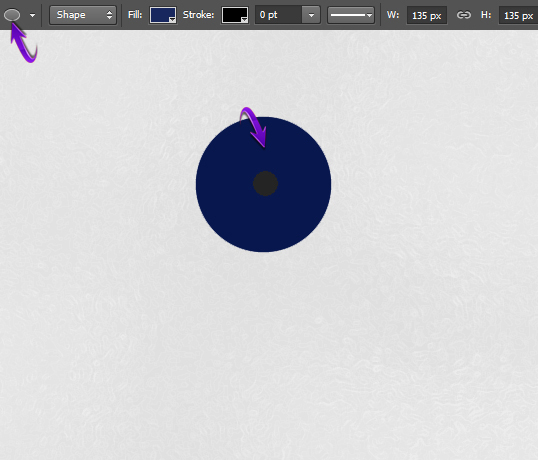
Draw two circles as shown below using the Ellipse Tool. Use the color #08174e for larger circle and #000000 for the smaller one.
Step 9
Double-click on blue circle layer and apply the following setting for “Bevel and emboss.”
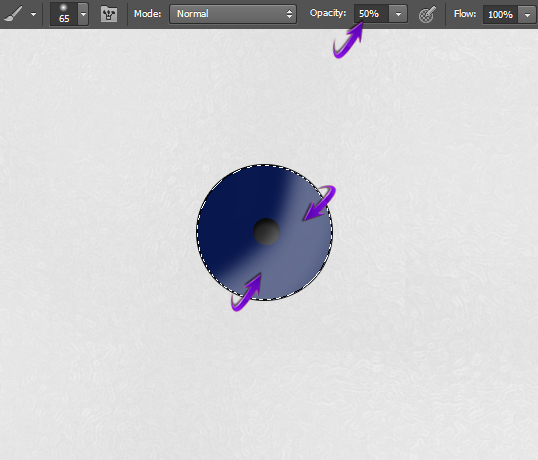
Now, to create highlights over the blue circle, press Ctrl + <click on blue circle layer> to make a selection around it. Now, select the Soft Round Brush with 40% opacity and use it on a new layer inside the selection as shown below in white.
Collect both circle layers into a group, resize this group using the Free Transform Tool (Ctrl + “T”), and position it as shown below.
Step 10
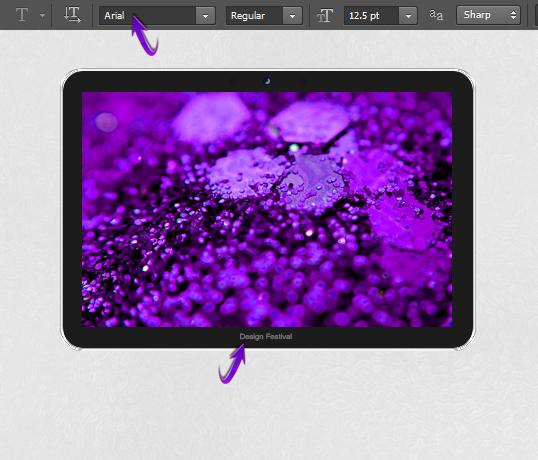
Now we’ll add text. Select the Type Tool, Arial font and #777777 color to type in your text.
Step 11
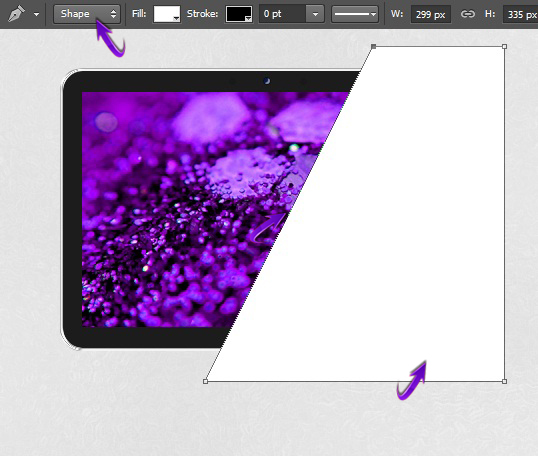
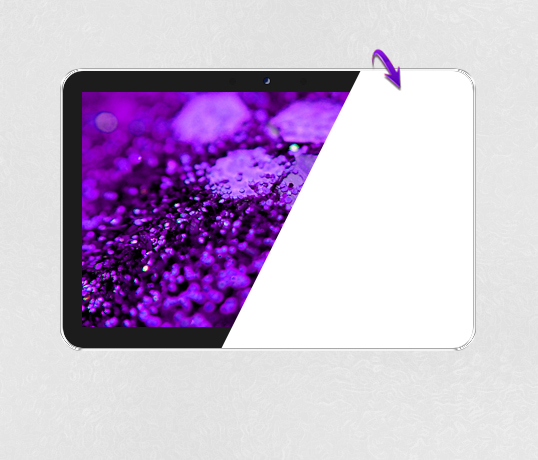
Next, we’ll create light reflection on the screen. Select the Pen Tool, choose the “Shape” tool mode, and draw the shape as shown below. You can use any color to draw the shape, because we’ll apply gradient on it later.
Now, right-click on the reflection layer and select the option of “Rasterize layer.” Confine this reflection to the screen with a layer mask using the same technique as explained in step 6.
Step 12
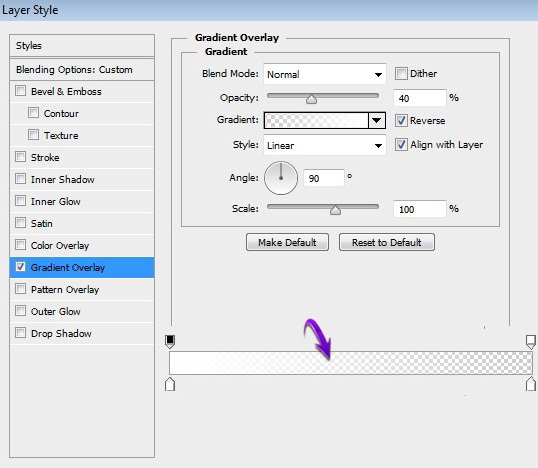
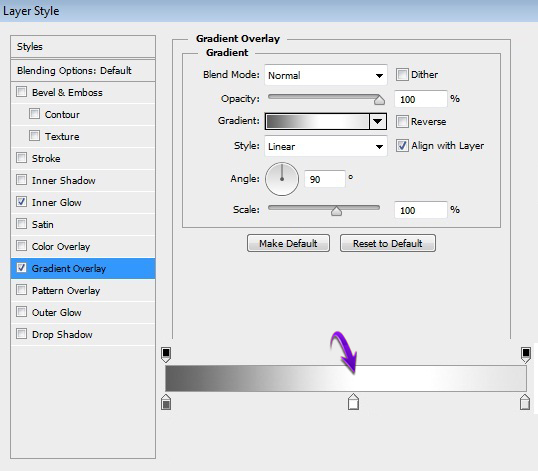
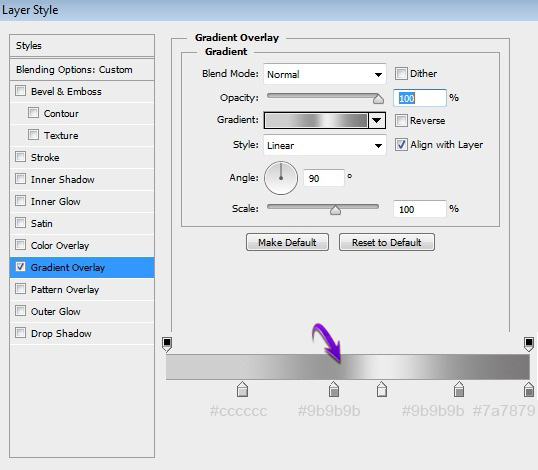
Set “Fill” to 0% of the reflection layer and then apply a “Gradient overlay” with the following settings.
Step 13
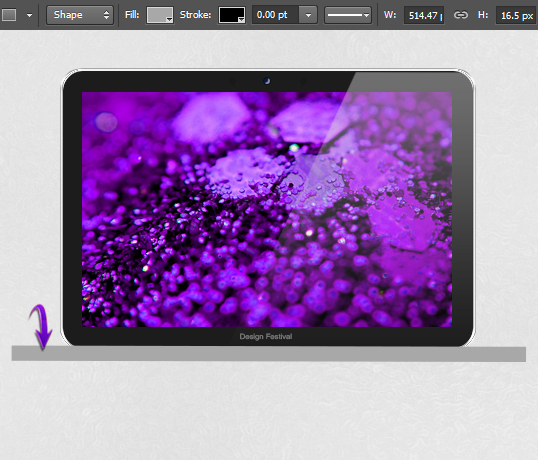
We are done with our screen, so collect all the layers in a group and label it as “screen.” Now, we’ll move ahead to create the laptop part. Select the Rectangle Tool to draw a thin rectangle, as shown below.
Step 14
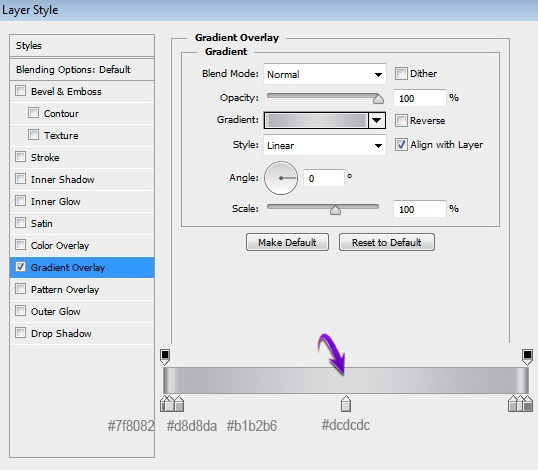
Apply the following gradient on this rectangle.
Step 15
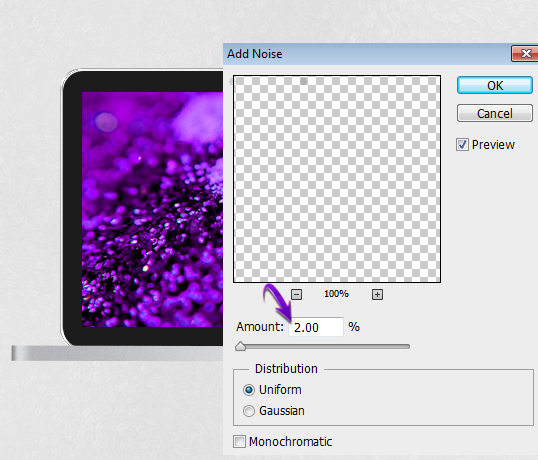
Next, we’ll add noise to the rectangle. Click on the rectangle layer and go to “Filter” > “Convert for smart filters” to covert the rectangle into a smart object. Then go to “Filter” > “Noise” > “Add Noise.” Use the values shown below.
Step 16
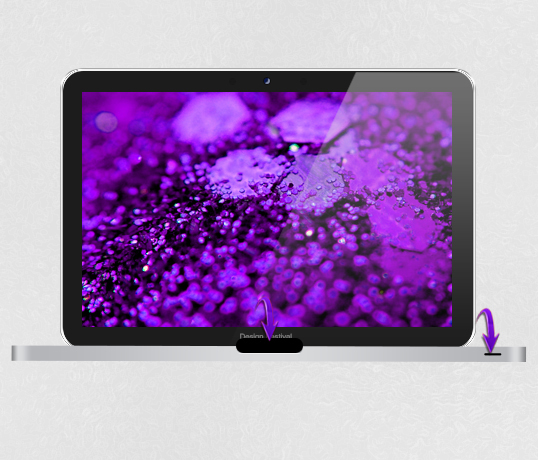
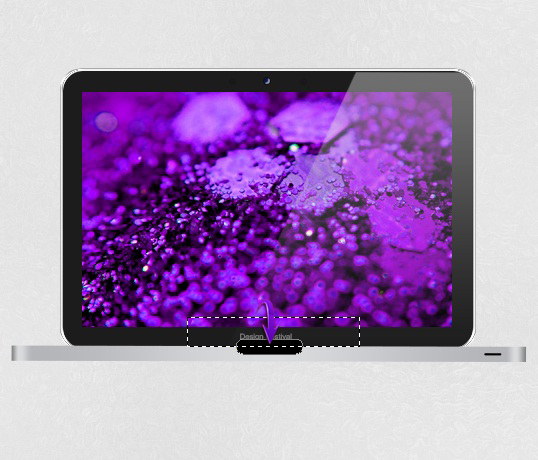
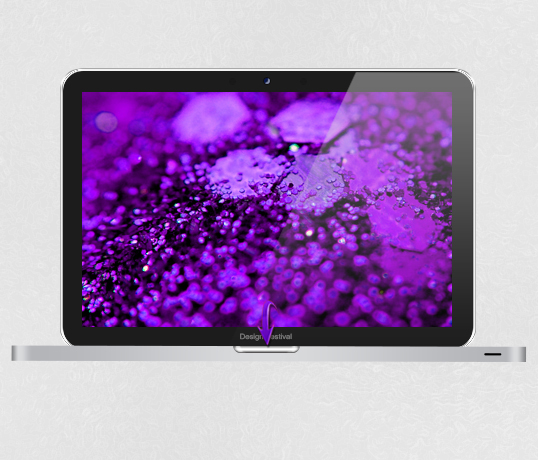
Now select the Rounded Rectangle Tool to draw two rectangles in black color as shown below.
Rasterize the larger rectangle layer and select the Rectangular Marquee Tool to make selection of the upper half of this rectangle. Then, go to “Edit” > “Clear.”
Step 17
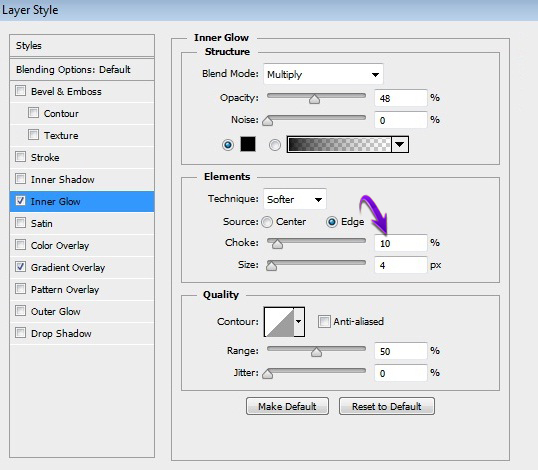
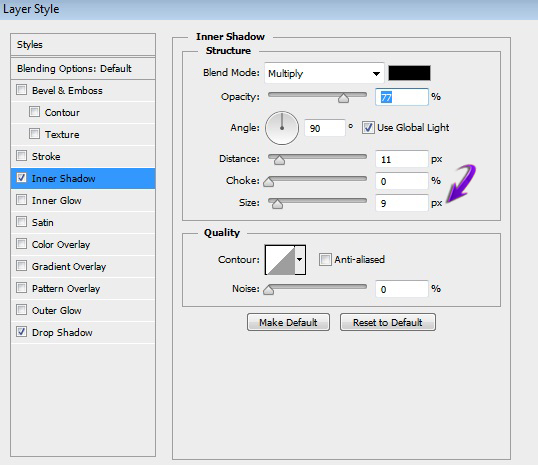
Double-click on this half rectangle layer and apply the following layer style settings on it.
Step 18
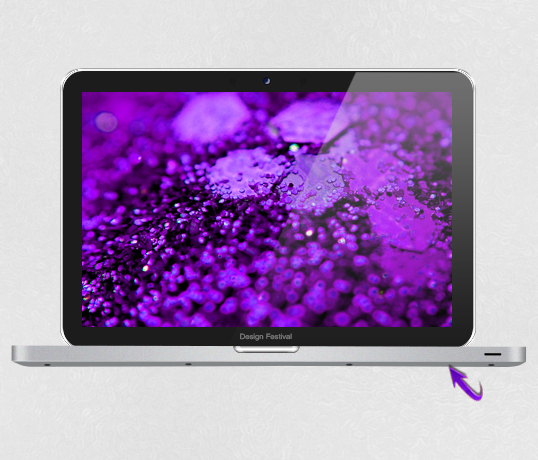
Select the Pen Tool to draw the shape as below. Use color #838688 here. After that, make four ellipses over this new shape using the Ellipse Tool with #000000 selected.
Step 19
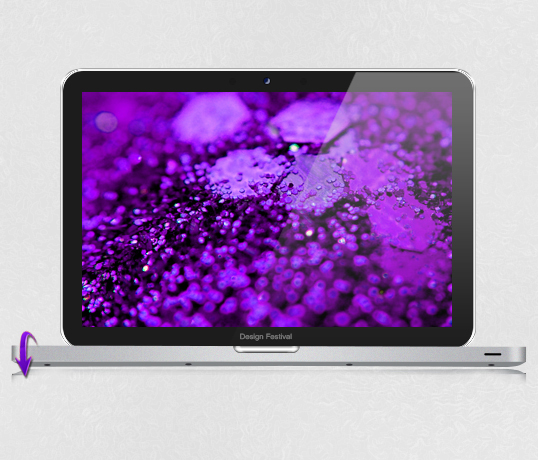
Collect the laptop layers in a group, duplicate this group and merge it. Now go to “Edit” > “Transform” > “Flip Vertical” and arrange it below the original laptop. Select the Soft Round Eraser Tool to nicely erase the laptop reflection to get the effect shown here.
Step 20
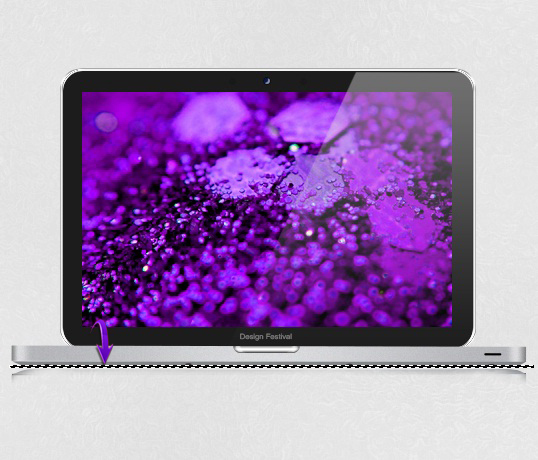
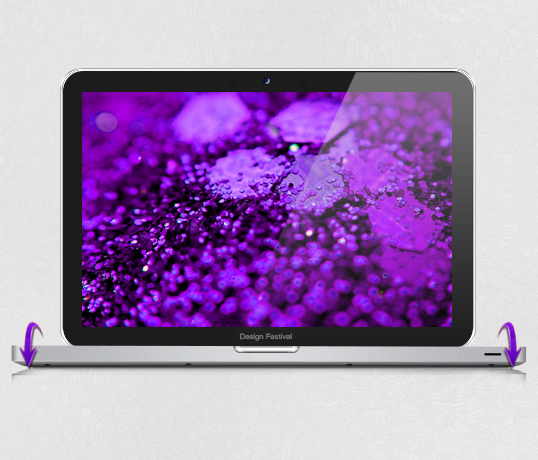
Now we’ll make a shadow between laptop and its reflection. Create a new layer and select a thin area using the Rectangular Marquee Tool, and fill it with #000000.
Now, blur it with a 1.5px Gaussian Blur, and erase its edges using the Soft Round Eraser Tool.
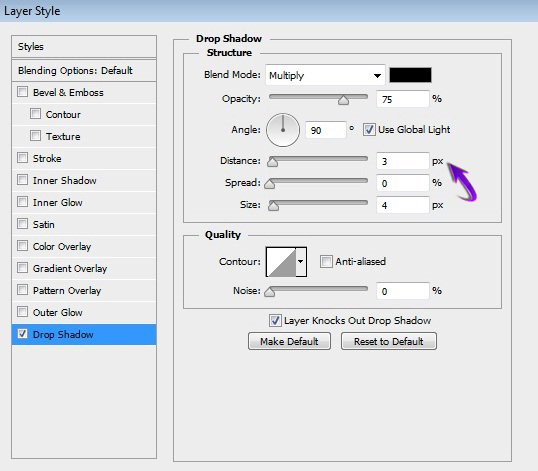
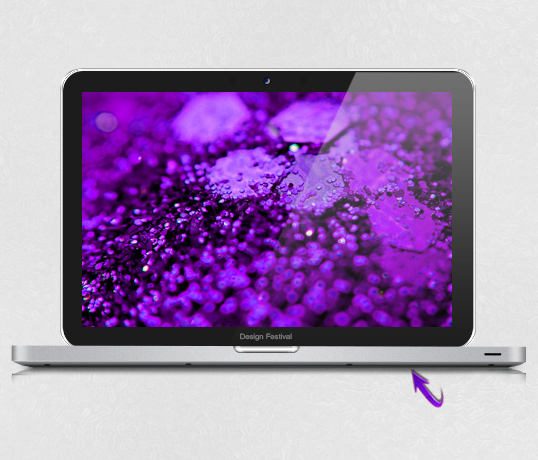
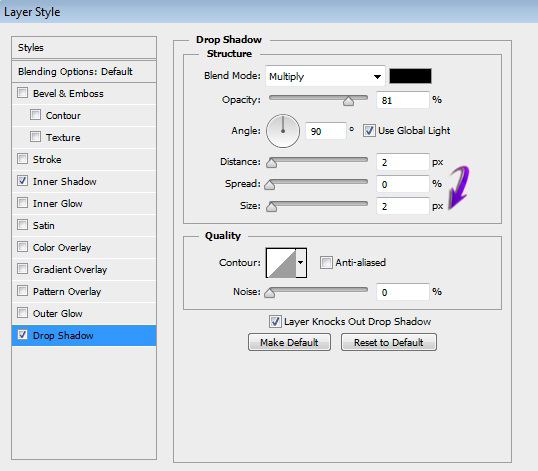
Now, to enhance the shadowing effect, apply the given settings as a drop shadow.
Step 21
Lastly, duplicate the screen group to preserve the original screen proportions. Now, select the stroke and the black rectangle layer in the duplicated screen group and increase its size vertically a bit, as we don’t want rounded corners at the bottom of the screen.
Step 22
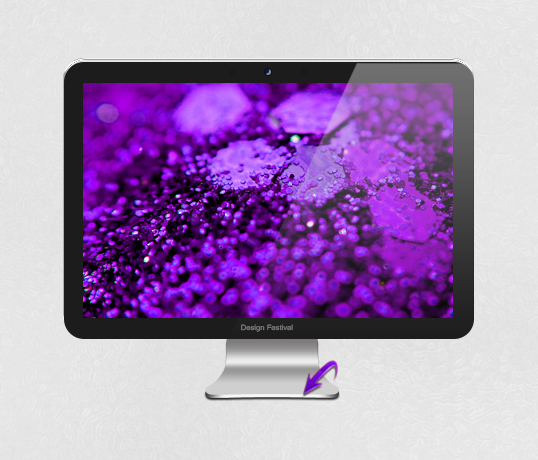
We are all done with our laptop mockup. Now, we’ll create a monitor by following few easy steps. First, click on the stroke layer in the original screen group, decrease its size a bit, and position the stroke in such a way that it would be visible just at the top of screen, as shown below.
Step 23
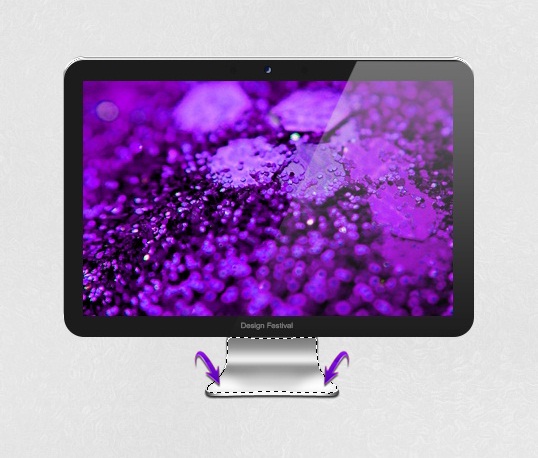
Draw the shape shown below using the Pen Tool in #f7f7f7.
Duplicate this shape and give it darker gray shade just to differentiate it from the original. Drag the original shape layer a bit downward.
Step 24
Double-click on the darker shape layer and apply the following settings as a gradient overlay.
Step 25
Now click on the lighter gray shape layer and apply the following layer style settings.
Step 26
Next, we’ll create highlights over the stand. Select the Soft Round Brush Tool with a 50% opacity and choose a pure white color. Now press Ctrl + <click on the stand layer with gradient> to make selection around it and then apply the brush on a new layer within this selection.
Lastly, create the reflection for the stand using the same method that we used for the laptop in step 19.
That’s it guys. What do you think?

