Understanding WordPress Pages and the Pages API

There are differences between WordPress posts and pages. There are times when a post is more suitable to use, while for other types of content, a page is more appropriate. In this article, I’ll cover what pages are and why they are different to posts. I’ll then show you how to manage pages on a WordPress website. Finally, we’ll take a look at some functions in the WordPress Pages API and have a play with pages.
What Is a WordPress Page?
A WordPress page is a page of content on your website — for example, a “Contact” or “About” page. We often see links to these pages in the main navigation, sidebar, or the perhaps in the footer of the website.
The main difference between a post and a page is the context in time: a post is generally time-dependant, while the content within a page is often permanent.
When you publish news, or even a tutorial, the context is important. A new feature won’t be new forever, and in some cases might not exist some years later. That’s why a post is more adapted when writing this type of content.
On the other hand, if you want to describe the purpose of your website, or if you want to provide a contact form, you’ll want to use a page. It’s the type of static content that won’t change in time.
How To Manage WordPress Pages
Adding, Editing and Removing a Page
If you have Editor or Administrator permissions, you can manage the pages in WordPress. To do this, go to Pages in the WordPress dashboard, and you’ll see a list of all your pages or to create a new page via the Add New button.
This list is similar to the list found in Posts, and can be used in the same way. You can click on a page’s title to edit it and some other useful quick links appear when you move your mouse over the page’s title.
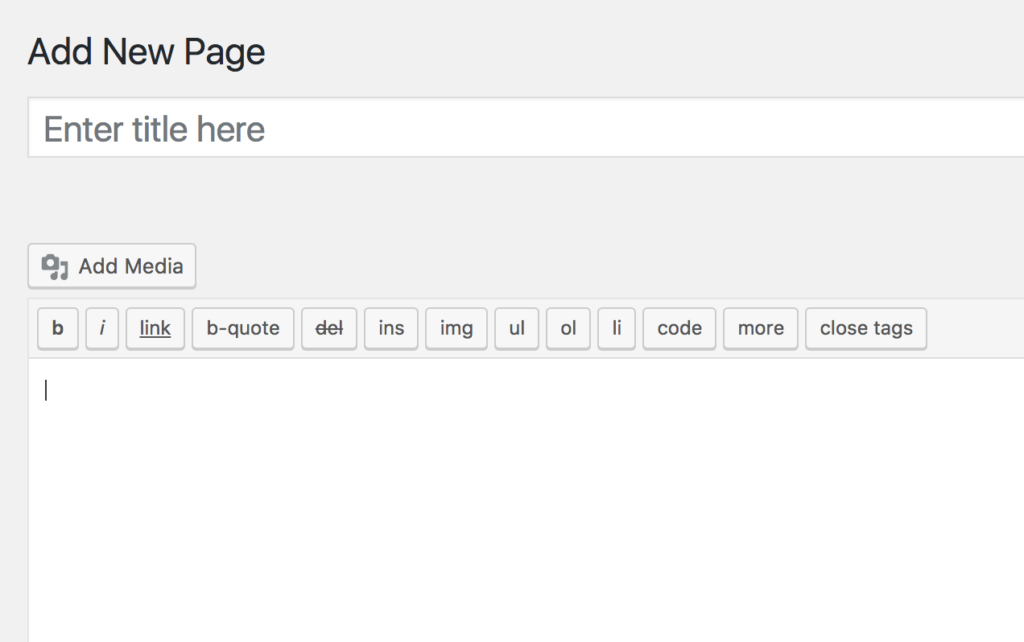
When you click to edit or add a page or post, you can then specify the title, content, and even add a featured image if your theme supports it. The Publish button allows you to publish the page. Otherwise, if you’re not ready to make it live, you can save it as a draft.
Organizing Pages
To organize your posts, you can use categories and tags. However, there isn’t a similar way to organize pages. Pages can still be organized in a hierarchy. In fact, you can indicate pages as subpages of other pages. It’s exactly like creating subcategories for your categories.
To create a subpage, go to the Page Attributes box where you’ll find a dropdown list labelled Parent. In this list, select the page you want as the parent of the page you’re currently creating or editing. Note, you can also create sub-subpages, sub-sub-subpages, etc. to create your own hierarchy.
By default, the pages are sorted alphabetically (by their titles). You can customize this order thanks to the Order field in the Page Attributes section. Then the pages will be sorted following the number you indicate in this field. As an example, if you have three pages titled Page 1, Page 2 and Page 3, they’ll be displayed in this order by default. If you want to make Page 3 appear first, indicate 0 as its order, and bigger numbers for the other pages (1 and 2 for instance).
The WordPress Pages API
Displaying a List of Pages
To display a list of pages, WordPress provides the wp_list_pages() function. By default, it displays the HTML code for a ul list containing all the published pages, encapsulated in a li tag with a h2 heading indicating Pages. It also accepts one parameter: an associative array listing some options to customize the output.
Filtering the Output
It’s possible to restrict the number of displayed pages thanks to some options. The first one we will see is child_of. It allows us to display the pages that have a given page as parent. The following example displays the children of the page with ID 2:
<?php
wp_list_pages(array(
    'child_of' => 2
));
?>
The authors option is useful when we want to display pages written by one or more authors. This option admits a string as a value: the list of the authors’ IDs separated by commas. With the following parameter, the function will display the pages written by two authors:
<?php
wp_list_pages(array(
    'authors' => '2,7'
));
?>
To display only some pages, you can use the include option. You give to this option a comma-separated list of pages IDs and you’ll get a list of these pages:
<?php
wp_list_pages(array(
    'include' => '7,53,8'
));
?>
On the contrary, if you want to hide some pages, you can use the exclude option that accepts the same type of value:
<?php
wp_list_pages(array(
    'exclude' => '2,4'
));
?>
You can also choose to filter by depth. If you want to see only top-level pages, for instance, you can use the option depth.
By default, it’s set to 0 and all pages are displayed. Set it to any positive number and you’ll get only pages to this depth. For example, indicating 1 will display only the top-level pages. The following example displays these same pages and their direct children:
<?php
wp_list_pages(array(
    'depth' => 2
));
?>
By default, wp_list_pages() displays only the published pages. But you can also display other pages, thanks to the option post_status.
Use this option to show the statuses you want to see, separated by a comma. The following example displays the published pages and the drafts:
<?php
wp_list_pages(array(
    'post_status' => 'publish,draft'
));
?>
In addition to filtering the list of pages you retrieve, you can also limit the number of retrieved pages thanks to the number option. If you use a positive number, you’ll only retrieve a limited number of pages.
Customizing the Output
You can customize the heading with the title_li option that accepts a string as a value. By default, it’s set to Pages, and you can then choose any text to display. You can also set it to an empty string.
That way, wp_list_pages() won’t encapsulate your pages into a li tag and you’ll directly get the li tags for the pages.
Retrieving the Pages
The wp_list_pages() function allows you to get a HTML list of pages. If you want to create your own HTML, or if you need to apply some actions to the pages before displaying them, it’s not the best function to use. Instead, you’ll prefer get_pages() to retrieve an array listing the different pages.
This function also accepts an array as an argument, listing the wanted options. The good news is that you already know some of these options, as we covered them in the description of the wp_list_pages() function: child_of, authors, include, exclude, post_status, number, sort_column and sort_order.
By default, the hierarchy of your pages is shown in get_pages(): the children will appear right after their parents. You can disable this behavior thanks to the hierarchical option set to false. That way, all pages will be treated equally, and the hierarchy will be totally ignored.
Retrieving a Single Page
The get_pages() function returns an array listing the wanted pages, each one represented by a WP_Post object. We’ll now see what’s contained in this object by retrieving only one page. To retrieve a page, use the get_post() function. Give to this function the ID of a page, and you’ll get an object representing this page:
<?php
$page = get_post(2);
?>
Several pieces of information are available in this object, and each one is an attribute. For instance, the ID of the page can be obtained thanks to the ID attribute:
<?php
echo $page->ID;
?>
The post_content allows you to retrieve the content of the page, while its title is in the post_title attribute. The post_name attribute contains the page’s slug (the part of its URL representing the page’s title).
The ID of the page’s author is given with the post_author attribute. You can also retrieve its date of creation with post_date and its date of latest modification with post_modified. The post_status attribute allows you to know the status of the page (published or draft, for instance).
The ID of the parent page can be obtained with the post_parent attribute and menu_order will give you the order indicated during the creation of the page.
Conclusion
If you want to add some static, permanent information to your website, then WordPress Pages are the solution.
The functions of the WordPress Pages API are useful if you’re developing a theme. You could, for example, list some pages in the footer, or create a widget to do it, so that your users can list pages wherever they want.