Scanning a QR Code with Cordova

A barcode is a machine readable image that encapsulates some data about the object to which it’s attached to. A Quick Response Code (QR Code) is a popular type of barcode for mobile use due to its fast readability and greater storage capacity compared to ordinary barcodes.
In this tutorial I will create a Cordova app which can scan QR Codes and store data obtained from decoding the QR Codes. To scan the barcode I will use the BarcodeScanner Cordova plugin.
Overview of Barcodes
Barcodes are structured images that can be 1D or 2D. 1D barcodes comprise of parallel lines with different heights, widths and colors. 2D barcodes comprise of dots, hexagons and other geometric figures.
Barcodes were originally scanned using special optical scanners called barcode readers. But now we can scan barcodes using devices such as smartphones and printers.
Barcodes are of many different types depending on dimensions, geometric figures and the types of data it can encapsulate. Here are some of the most common types of barcodes:
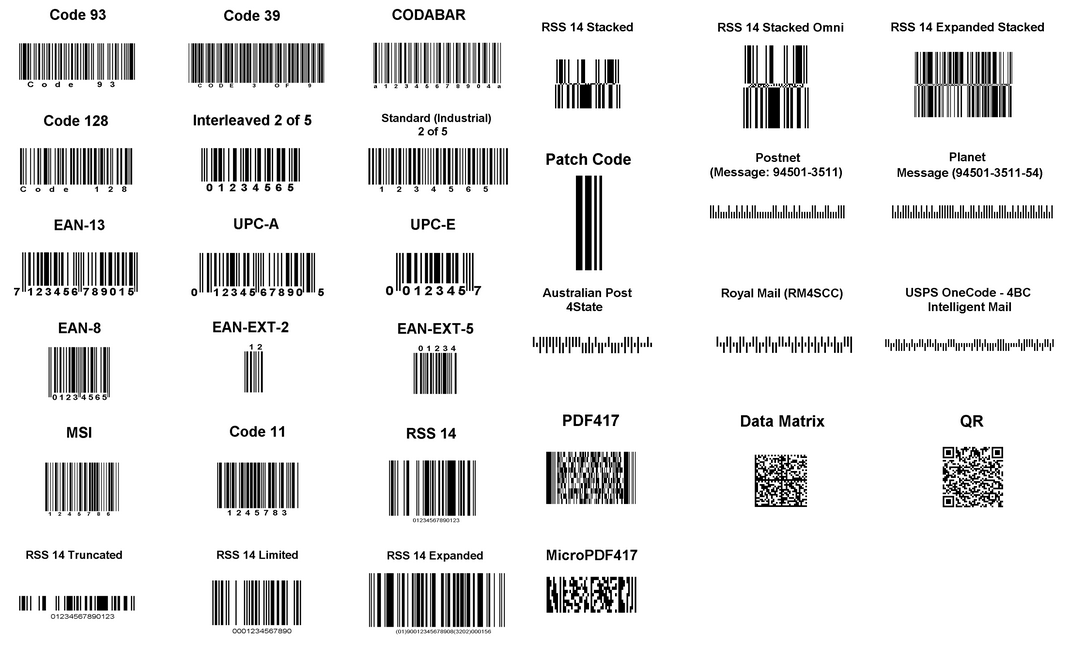
QR Code
QR codes are one of the most popular types of barcodes in use today, with the ability to encode up to 4296 characters. A QR Code is 2D as you can see in the above image.
Typical QR code applications include product tracking, item identification, time tracking, document management, general marketing, URL sharing, package tracking and much more.
There are several types of QR codes, Model 1, Micro, IQR, SQRC and LogoQ. Model 1 is the most common type and it’s the one I will be using in this app example.
QR codes are widely used on websites where they generally represent the URL of the website. When someone wants to read the content of your web page on their mobile phone, they can scan the QR code which then opens the URL in a browser instead of manually typing a long URL.
The app we will create in this tutorial can be used to scan and store QR Codes that are URLs. It lets you open the URLs inside the app using an InAppBrowser window.
BarcodeScanner Cordova Plugin
The BarcodeScanner Cordova plugins lets you scan and decode different types of barcodes. The plugin works on Android, iOS, Windows and Blackberry platforms.
Here is the basic code that shows how to launch the camera app and scan a barcode using the BarcodeScanner Cordova plugin:
cordova.plugins.barcodeScanner.scan(
  function (result) {
    if(!result.cancelled)
    {
      alert("Barcode type is: " + result.format);
      alert("Decoded text is: " + result.text);
    }
    else
    {
      alert("You have cancelled scan");
    }
  },
  function (error) {
      alert("Scanning failed: " + error);
  }
);
Creating a QR Code Scanner App
Let’s get started with building a QR Code scanner app. This app will let you scan and store QR Codes that are URLs. It also lets you open the URLs inside the app using InAppBrowser window.
You can find the final code of this project on gitHub.
Starting
I won’t cover installing and creating a Cordova Application, if you haven’t done this before, read the getting started guide. Instructions to run and build the application are available on the same page.
Give the Application an appropriate name and add the platforms you want to support.
As I will be using BarcodeScanner, Dialog and InAppBrowser plugins, install them by running the commands below in the Cordova project directory:
cordova plugin add phonegap-plugin-barcodescanner
cordova plugin add org.apache.cordova.dialogs
cordova plugin add org.apache.cordova.inappbrowser
Inside the www/index.html file, add the following JavaScript and CSS files before the closing body tag:
<script src="https://code.jquery.com/jquery-2.1.4.min.js"></script>
<script src="https://code.jquery.com/mobile/1.4.5/jquery.mobile-1.4.5.min.js"></script>
<script type="text/javascript" src="cordova.js"></script>
Remove the current:
<script type="text/javascript" src="js/index.js"></script>Here I added jQuery and jQuery Mobile from CDNs. You can embed these files locally so that the app works without an Internet connection.
Depending on the platform you are building for you may need to change this line:
<meta http-equiv="Content-Security-Policy" content="default-src 'self' data: gap: https://ssl.gstatic.com 'unsafe-eval'; style-src 'self' 'unsafe-inline'; media-src *">See the comments above this line auto-generated by Cordova for guidance.
Note: All JavaScript code from here onwards should also be placed in a script tag before the closing body tag.
Initialize
We will be storing the scanned data using HTML5 local storage. Place this code in a script tag to initialize the local storage if it hasn’t been already:
if(localStorage.getItem("LocalData") == null)
{
    var data = [];
    data = JSON.stringify(data);
    localStorage.setItem("LocalData", data);
}
Here I am storing an empty array. Each array element will be another array with the data name and value that’s scanned.
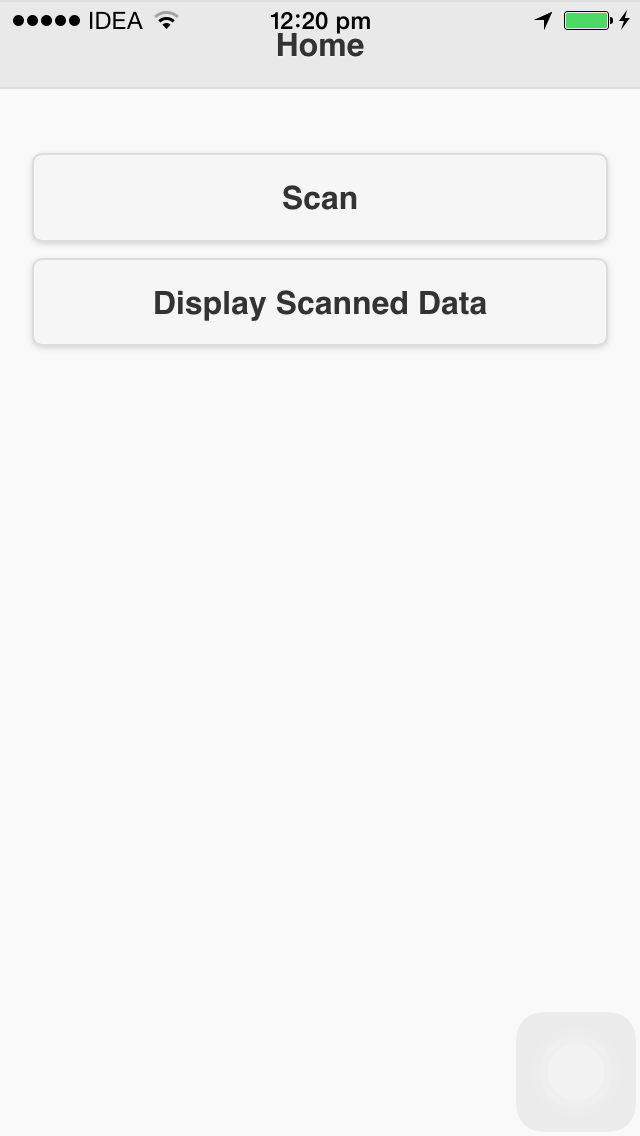
Creating the Home Screen
Let’s create a home screen which will display when the app loads.
On the home screen are two buttons. These are for scanning and displaying data.
Place this code in the body tag of the index.html page (Replacing the divs that are there):
<div data-role="page" id="home">
    <div data-role="header">
        <h1>Home</h1>
    </div>

    <div data-role="main" class="ui-content">
        <p>
            <a target="_blank" href="javascript:scan();" style="text-decoration: none"><button>Scan</button></a>
            <a target="_blank" href="#display" style="text-decoration: none"><button>Display Scanned Data</button></a>
        </p>
    </div>
</div>
Here is how the page looks:
Scanning
When a user clicks on the Scan button a function named scan() is called. Here is the scan function. Place it inside a script tag:
function scan()
{
    cordova.plugins.barcodeScanner.scan(
        function (result) {
            if(!result.cancelled)
            {
                if(result.format == "QR_CODE")
                {
                    navigator.notification.prompt("Please enter name of data",  function(input){
                        var name = input.input1;
                        var value = result.text;

                        var data = localStorage.getItem("LocalData");
                        console.log(data);
                        data = JSON.parse(data);
                        data[data.length] = [name, value];

                        localStorage.setItem("LocalData", JSON.stringify(data));

                        alert("Done");
                    });
                }
            }
        },
        function (error) {
            alert("Scanning failed: " + error);
        }
   );
}
Here I am checking the type of barcode once the user has scanned it. If the barcode is a QR Code, then we progress further, otherwise we do nothing.
If the barcode type is a QR Code then we ask the user to input a name to identify the scanned text and store it in local storage. Finally we display an alert box with text Done
.
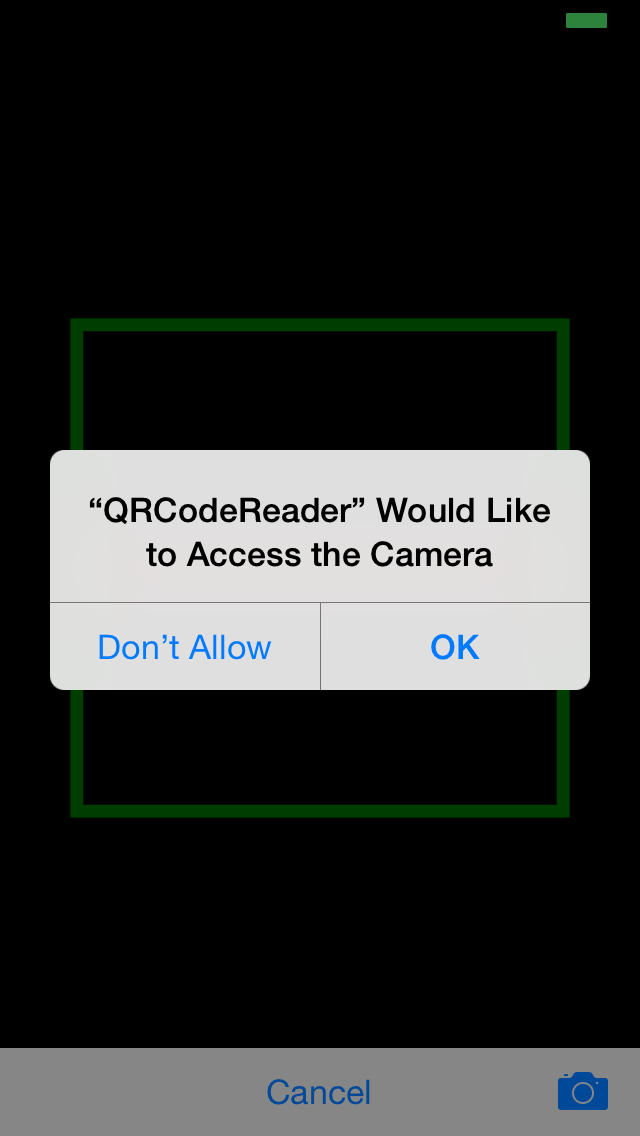
Here is how the screen looks when the Scan button is first clicked:
Displaying
When a user clicks on the Display Data button, it switches to the page with the id display.
Let’s create that page. Place this code inside the body tag:
<div data-role="page" id="display">
    <div data-role="header">
        <a target="_blank" href="#home" class="ui-btn ui-icon-home ui-btn-icon-left">Home</a>
        <h1>Display</h1>
    </div>

    <div data-role="main" class="ui-content">
        <table data-role="table" data-mode="column" id="allTable" class="ui-responsive table-stroke">
            <thead>
                <tr>
                    <th>Name</th>
                    <th>Value</th>
                </tr>
            </thead>
            <tbody>
            </tbody>
        </table>
    </div>
</div>
Here we display an empty table. To populate the table with local storage data, place this code in the script tag:
$(document).on("pagebeforeshow", "#display", function() {
$("table#allTable tbody").empty();
var data = localStorage.getItem("LocalData");
console.log(data);
data = JSON.parse(data);
var html = "";
for(var count = 0; count < data.length; count++)
{
html = html + "<tr><td>" + data[count][0] + "</td><td><a href='javascript:openURL(\"" + data[count][1] + "\")'>" + data[count][1] + "</a></td></tr>";
}
$("table#allTable tbody").append(html).closest("table#allTable").table("refresh").trigger("create");
});
function openURL(url)
{
window.open(url, '_blank', 'location=yes');
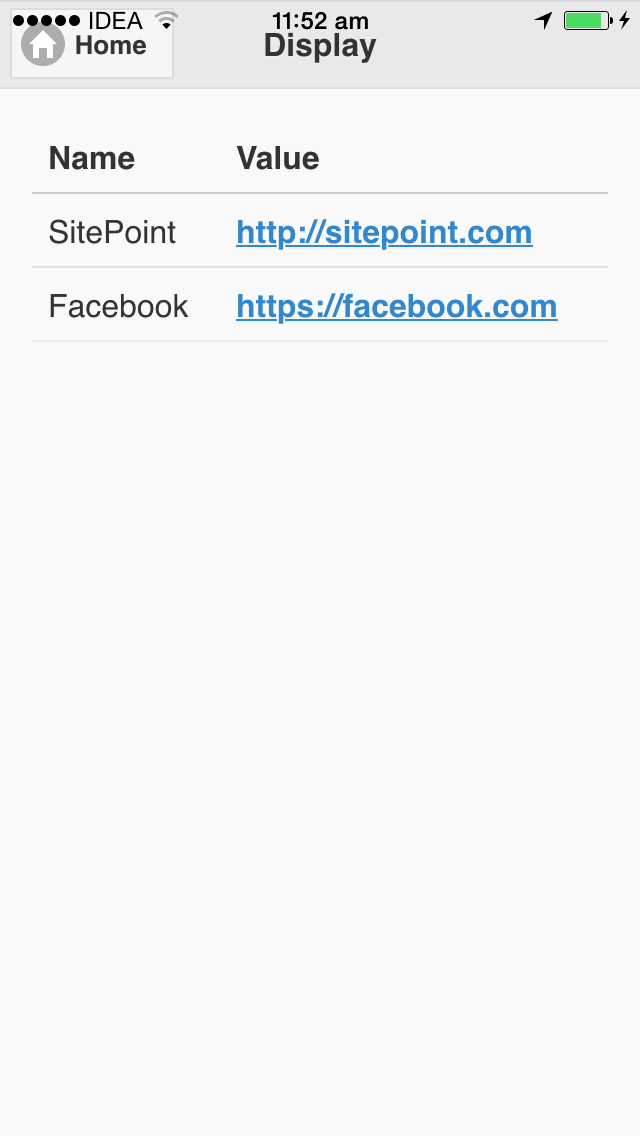
}Before the page is rendered, we populate the table with local data. When a URL is clicked we invoke the openURL function which opens the URL in an InAppBrowser window.
Here is how the page now looks:
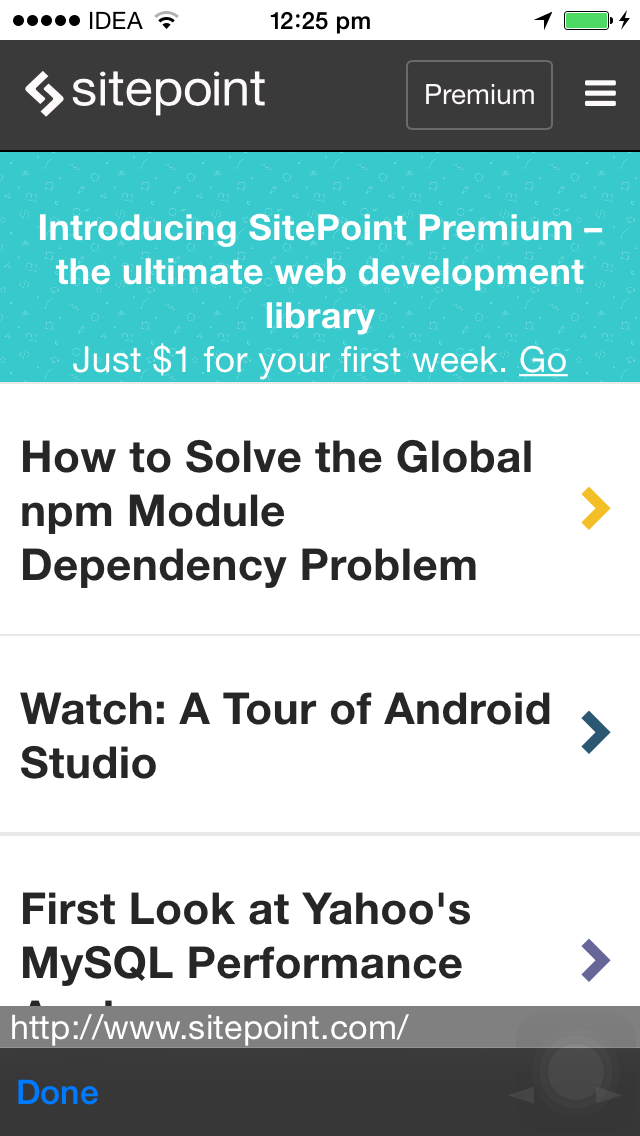
This is how the InAppBrowser window looks:
Conclusion
This tutorial was a basic introduction to reading a barcode with a Cordova app. We learned how to distinguish between different barcode types, the plugins that can help us and how to scan and store barcodes.
Let me know your experiences trying this tutorial and ideas for expanding it.