Create a Chatbot Trained on Your Own Data via the OpenAI API

In this article, you’ll learn how to train and test your own chatbot using the OpenAI API, and how to turn it into a web app that you can share with the world.
Why Make a Chatbot?
With AI having revolutionized information technologies, many have leveraged it using API providers such as OpenAI to integrate AI into their data.
A particularly good way of using AI for your data is to make your own chatbot.
For example, imagine you have a dataset consisting of thousands of company earnings reports. You’d like to explore and analyze it without spending hours of your time. A good option would be to make a chatbot to answer any questions you may have about the documents — to save you having to manually search through them.
For example, you may want to ask “which company had the best earnings last quarter?” — a question that you’d usually have to answer by manually digging through your dataset. By using a chatbot trained on your data, you can get the answer to that question in a matter of seconds.
Getting Started with the OpenAI API
To get started on your very own chatbot, you first need access to the OpenAI API. To get your OpenAI API key, sign up on the OpenAI website. Then click your profile icon located at the top-right corner of the home page, select View API Keys, and click Create New Secret Key to generate a new API key.
Preparing Your Data
For this tutorial, I’ll be using the Wikipedia page for computers to make a simple chatbot that can answer any general question about computers and their history.
You can download the dataset in text format from this article’s GitHub repo.
Create a new folder where you’ll be making your chatbot. Then create a folder named chatbot_docs inside your project folder, and paste the dataset file into that folder. (The name of the folder doesn’t matter, but for this tutorial it’s much easier to name it chatbot_docs.)
Training and Testing a Simple Chatbot on Your Data
Once you have your API key and dataset file, you can get started with the actual code.
Go to your project folder and create an empty Python file inside your new project folder.
Once you’ve done that, download the libraries that we’re going to be using by running the following in your terminal:
pip3 install langchain flask llama_index gradio openai pandas numpy glob datetime
Finally, once you’ve installed all the necessary libraries, paste in this Python code from our repo into your Python file.
For this tutorial, I’m using the gpt-3.5-turbo OpenAI model, since it’s the fastest and is the most cost efficient. As you may have noticed if you’ve looked at the code, I set the temperature of the chatbot to 0. I did this to make the chatbot as factually accurate as possible. The temperature parameter determines the creativity of the chatbot, where a temperature of 0 means that the chatbot is always factually accurate and a temperature of 1 means that the chatbot has complete freedom to make up answers and details for the sake of creativity, even if they’re not accurate. The higher the temperature, the more creative and less factually accurate the chatbot is.
Throughout this code, I mention the word “embeddings”. This is just what the text in your Wikipedia document gets turned into in order to be understood and made sense of by the chatbot. Each embedding is a list of numbers ranging from -1 to 1 that associate each piece of information by how closely it’s related to another. In case you’re wondering what the text-embedding-ada-002 means, this is just the model that’s being used to make the embeddings, because it’s the most cost and time efficient.
This code makes an embeddings CSV file for each document in your chatbot_docs folder, and since you only have one (for the purposes of this tutorial), it only creates one embeddings file. But if you had more documents, the code would create an embeddings file for each document. This approach makes your chatbot more scalable.
You’re also probably wondering about the part with the chunks:
text_splitter = RecursiveCharacterTextSplitter(separators=["\n\n",  "\n"], chunk_size=2000, chunk_overlap=250)
texts = text_splitter.split_text(content)  # Splitting the document content into chunks
Let me explain. This code splits the Wikipedia page about computers into chunks of 2000 characters and a chunk overlap of 250 characters. The bigger the chunk size, the bigger the context of the chatbot, but this can also make it slower, so I chose 2000 as a nice middle ground between 0 and 4096 (the maximum chunk size) for this tutorial.
As for the chunk overlap, ChatGPT recommends keeping the chunk overlap between 10% to 20% of the chunk size. This keeps some context between the different chunks. It also makes sure the chunks aren’t redundant, by keeping them from containing too much of the previous chunks data.
The smaller the chunk overlap, the smaller the context between the chunks. The bigger the chunk overlap, the bigger the context between the chunks and the more redundant the chunk data.
This code also splits the document by paragraphs — by splitting the text every time there’s a newline (\n or \n\n). This makes the chunks more cohesive, by ensuring the chunks aren’t split mid-paragraph.
Making the Chatbot
Once you’ve run your code, you’ve prepared your data to be used by the chatbot. This means you can now make the actual chatbot.
While the Python file you just ran created the embeddings needed for the chatbot to function, you’re now going to have to make another Python file for the actual chatbot. This will take a question as input, and output an answer made by the chatbot.
Once you’ve created a new Python file, add this Python code from the repo.
Now, if you run your chatbot, you should get the following output after a couple of seconds of processing.

Now that you have your chatbot, you can experiment with different questions! You can also experiment with different chunks and chunk overlaps, as well as temperature (if you don’t need your chatbot to be 100% factually accurate).
Implementing Your Chatbot into a Web App
While having a simple chatbot is nice, you’re probably looking for the real deal — where you have a UI for your chatbot that lets users from all over the world use it.
To get started with your chatbot web app, create a templates folder inside your project directory. Inside that, create an HTML file called bot.html and a CSS file called style.css.
Also make sure to create an empty chat folder inside your project directory. This is going to be used for the backend–frontend communication.
Now add this css code to your style.css file.
After you’ve done that, add this HTML to your bot.html file.
Now, you’re going to have to change your Python chatbot script to receive requests from your web page and send back responses using Flask. Change your Python script to this code.
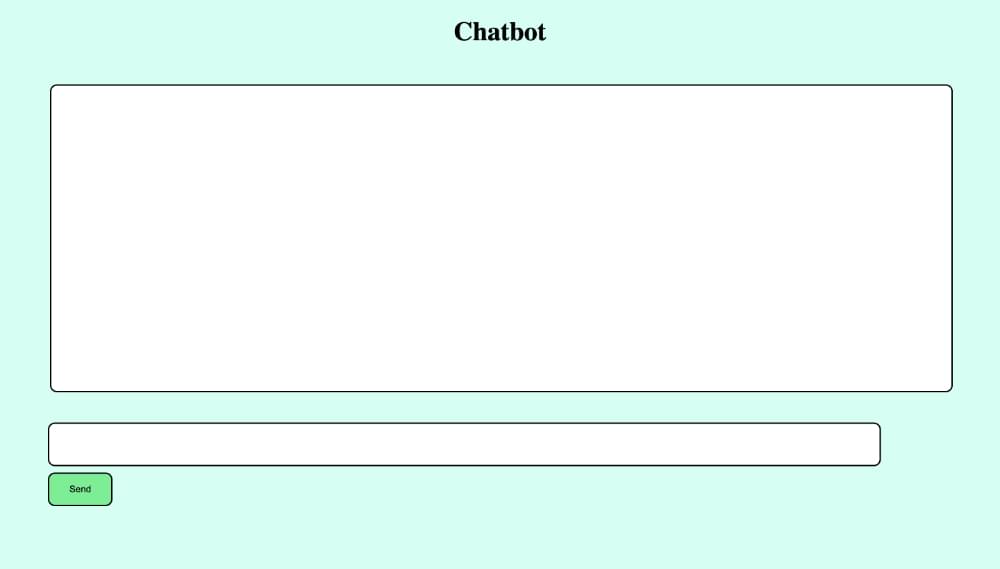
Now let’s test your chatbot web app! Run your Python file and open localhost:8001. You should now see your web page, as pictured below.
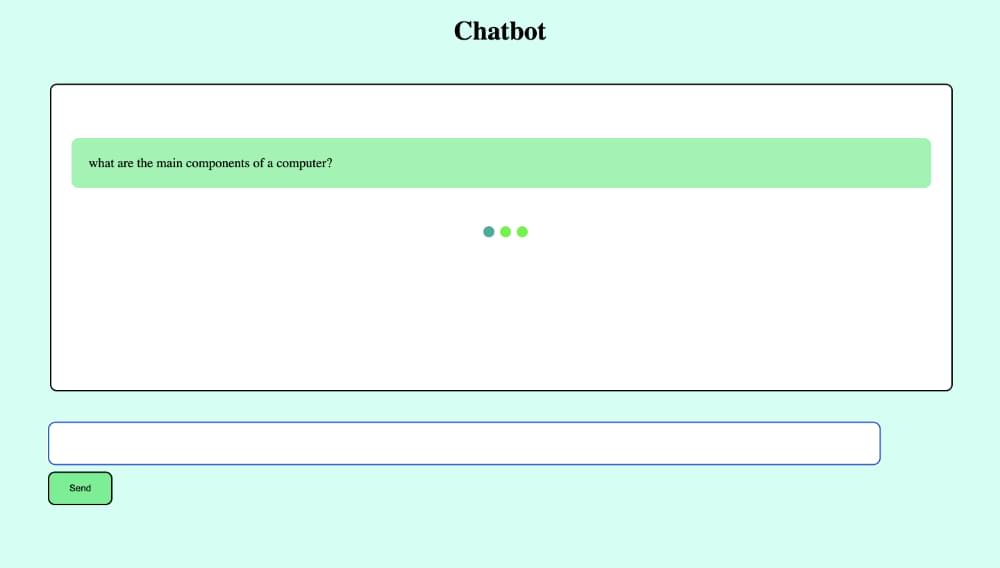
Now if you enter a question, you should see a loading animation while the chatbot is processing it.
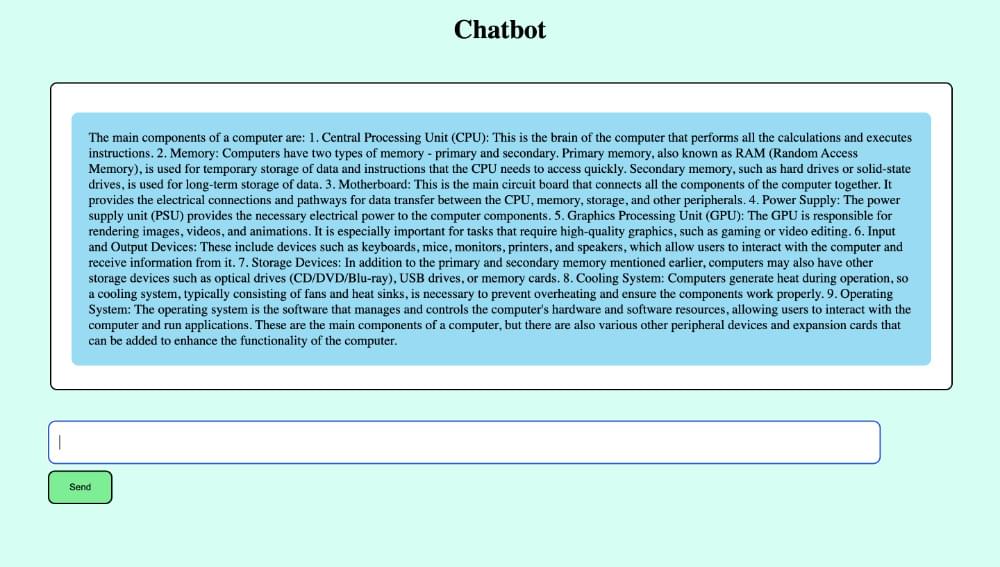
Finally, after a few seconds, you should get a response from the chatbot, as pictured below.
Conclusion
Now you can experiment with your chatbot. Use different sets of data and build on top of this simple web app to make your own fully functioning web apps. The beauty of chatbots is that they can be trained on anything — from podcast transcripts to philosophy books.
I hope you found this tutorial helpful. Happy coding!